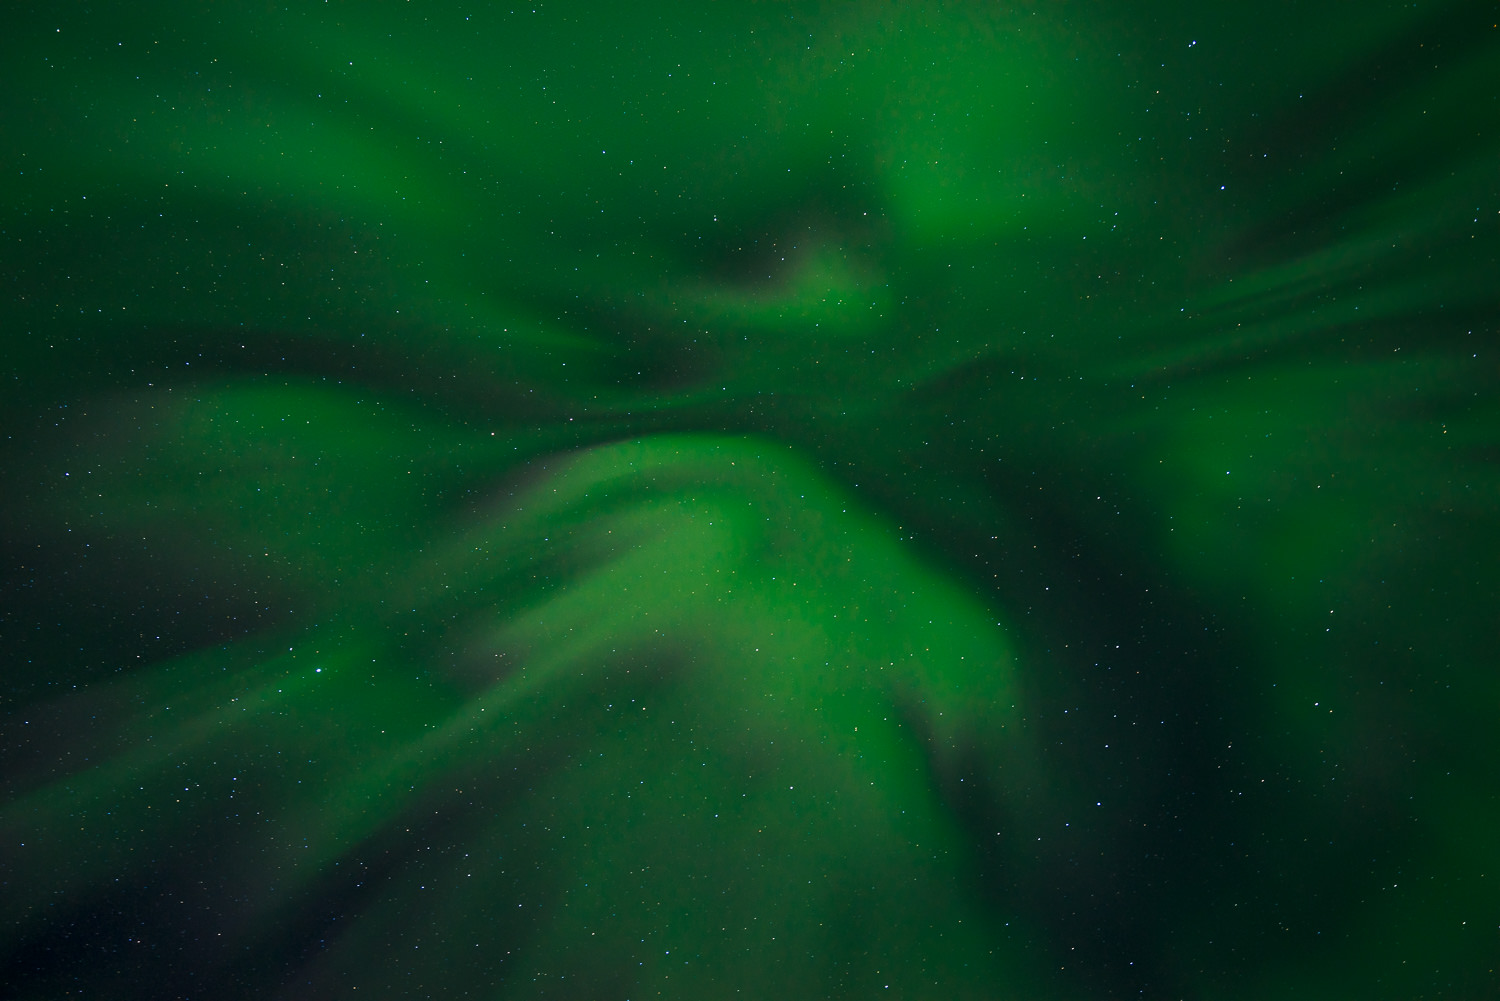
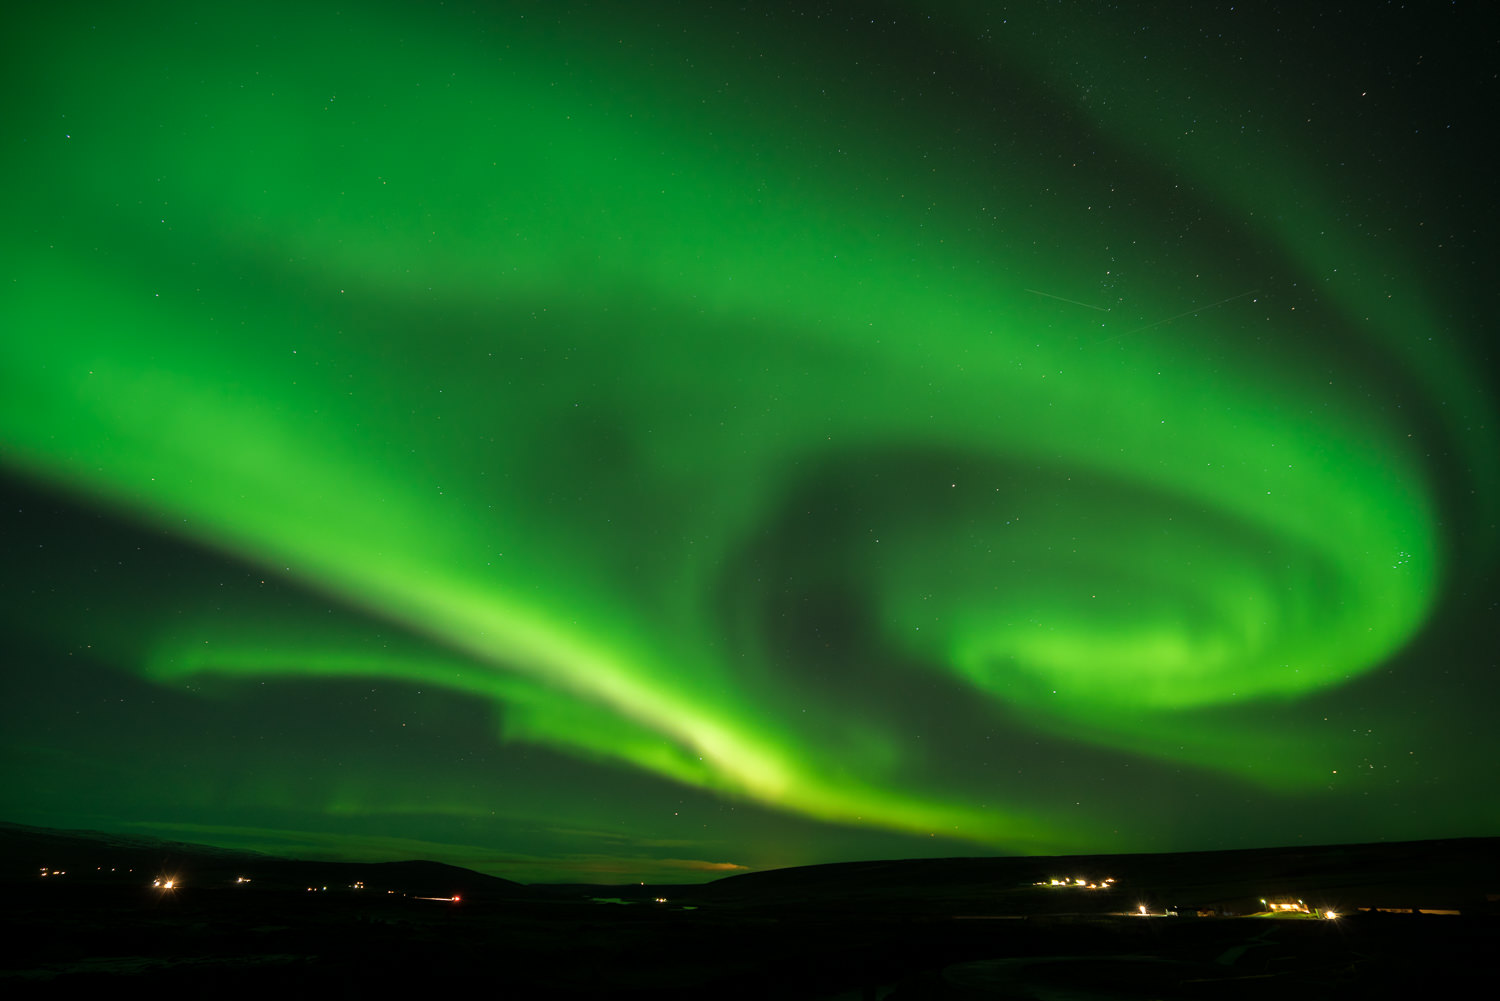
One of the most unique winter experiences one can witness is seeing the incredible beauty of the Northern Lights. While some might think of the aurora as simply static streaks of light, the truth is that they dance and move across the sky, much like waves in the ocean given the right conditions.
Seeing it for the first time is truly an awe inspiring moment. But what if you wanted to photograph and share that experience with others? What kind of gear do you need? How do you know if they will appear on a given night? What is the best way to capture the Northern Lights?
As a photographer and photo educator who has spent the last four years traveling to the arctic to photograph this natural phenomena, I have decided to put together this short guide to help answer all your questions.
How Do Auroras Form?
While you might not believe me, we have the sun to blame (or praise) for these incredible light shows. When the sun release solar flares into space in the form of charged particles, they eventually hit the earth’s magnetic shield and collide with atoms and molecules in our atmosphere. This results in small bursts of light, otherwise known as photons. Because of this, we can predict when a solar storm might hit the Earth.
Where are the best locations to see the Northern Lights?
Typically, the further north you are during the winter months, the higher probably you have of seeing the Northern Lights. Countries such as Norway, Sweden, Finland, Iceland, Greenland, Russia and Canada are known for having some of the best opportunities to witness these incredible natural events. It is however important to note that the larger the solar storm, the more visible the aurora can be seen further South.
What is the KP rating system?
In order to understand the strength of the geomagnetic storms coming off the sun towards earth, the KP index (otherwise known as Planetary K-Index) was formed. It is used as an indicator of disturbances in the Earth’s magnetic field.
The system measures the size of these storms and applies a KP rating to it that goes from 0 (no activity) to 9 (insanity). While we are discussing this from a photography perspective, these storms also effect the electrical power grid, spacecraft operations, users of radio signals that reflect off of or pass through the ionosphere.
Bottom line…the larger the storm (KP value) the more visible the Norther Lights will appear and the further south they can potentially be seen.
What Conditions Should You Look For?
While you can see the Northern Lights in a variety of different situations, the following conditions are generally considered more ideal.
Clear Skies
While it is possible to see the aurora through light clouds, clear skies are generally preferred so that you can see them in all their glory.
Cold Temperatures
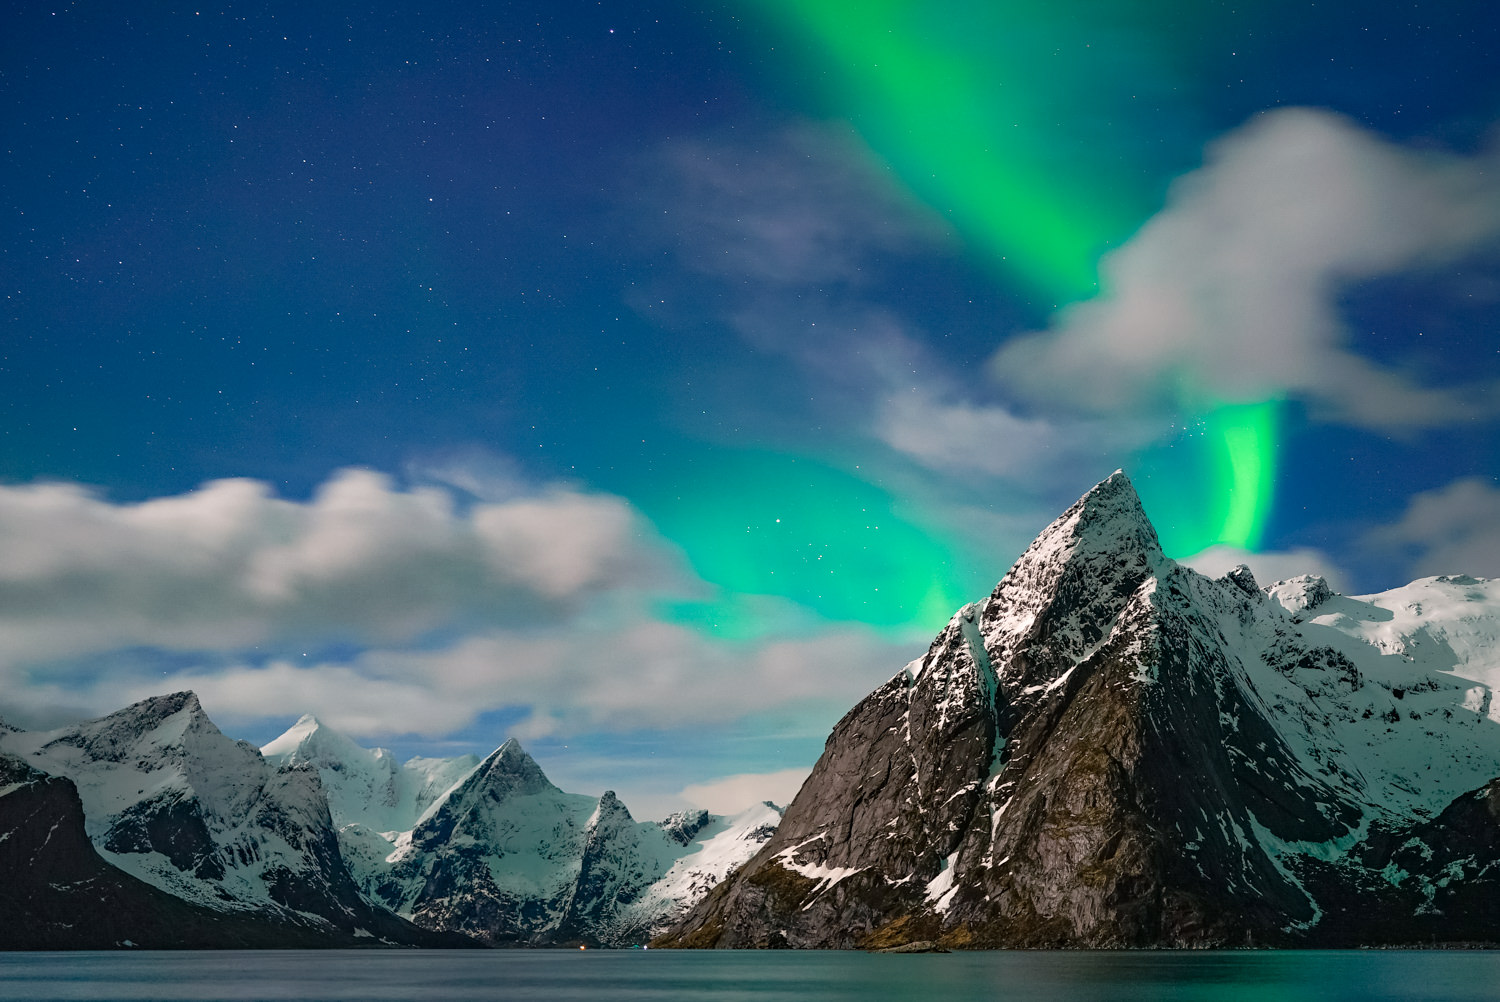
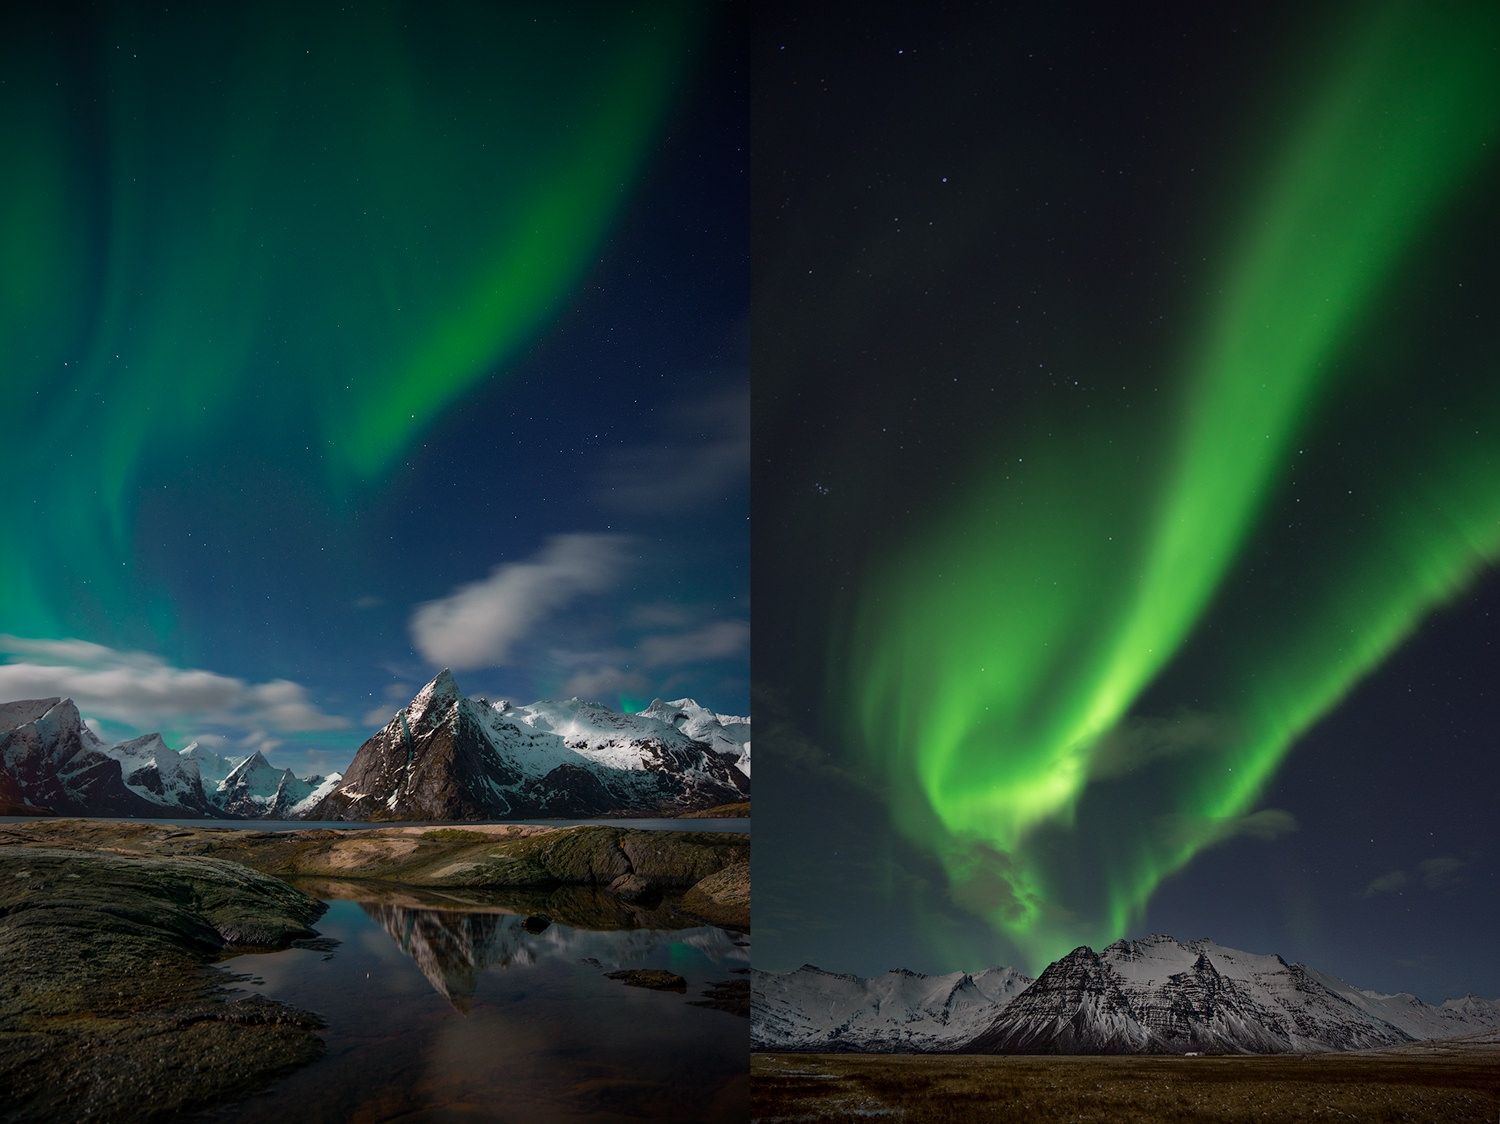
The colder it is, the clearer it often is as well. I am not referring to cloud cover, but clarity. A cold crisp night with clear skies will provide better visibility for objects in the distance, such as mountains that you might wish to incorporate into your photos.
High Solar Activity
Simply put, the larger to solar storm, the more visible the Northern Lights might appear. A KP 2 rated solar event will not be nearly as vivid or pronounced as a KP 5.
What Camera Gear Should I Use?
While a mobile phone or tablet simply won’t cut it, a DSLR or Mirrorless Camera should work great in most situations. Here are a few things to look for when it comes to selecting the right camera and accessories.
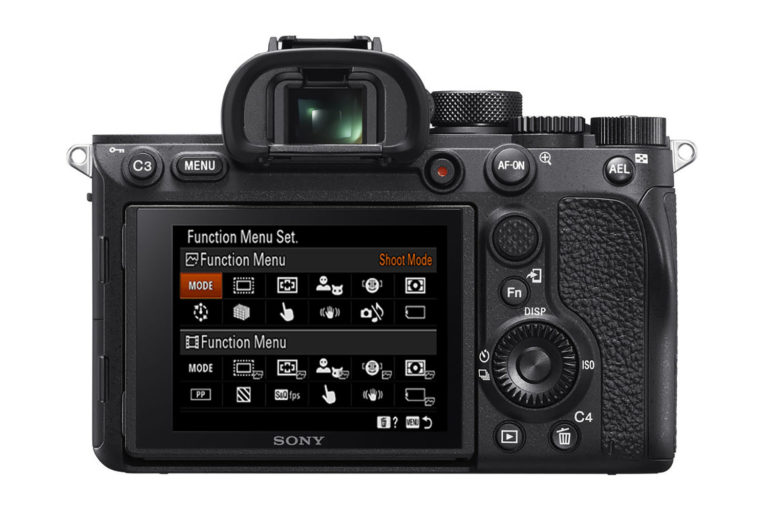
Full Manual Mode
When photographing the Northern Lights, you will be often be working in pretty dark environments as the bright lights of the aurora begin to form in the sky. Whatever camera you choose to use should have a manual camera mode that allows you manually select the ISO, Shutter Speed and Aperture of your images. This creative control will help you balance the right amount of light you wish to capture so that the foreground isn’t too dark and the northern lights are not completely devoid of detail or color.
Wide Angle Fast Lens
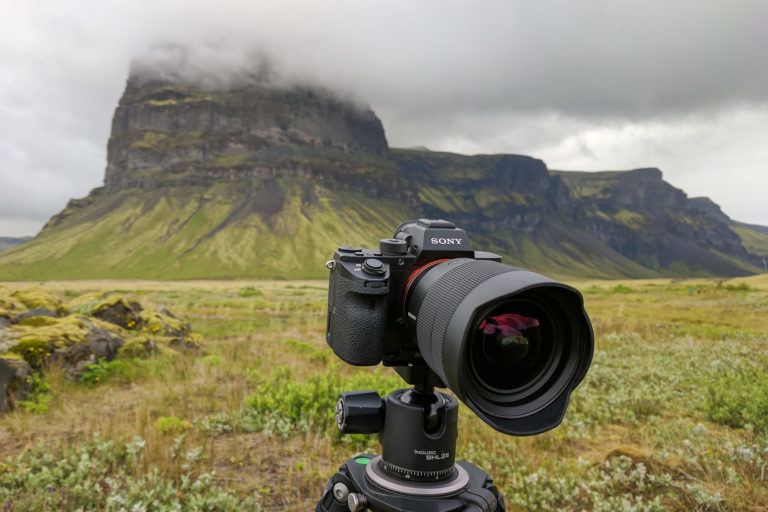
Most of my favorite photos of the Northern Lights were taken with very wide-angle lenses. This is because I often want to bring in large portions of the environment around me into my shots to help show both scale and a sense of place. As a Sony shooter, this means I am often reaching for my Sony 16-35 FE lens.
Additionally, using a fast lens (such as f/2.8), can help with exposing a darkened environment ascamera’s allow more light to reach your cameras sensor.
ISO Sensitivity/Performance
Because the Northern Lights appear in the darkened night sky, you will often find yourself having to capture images while using pretty high ISO settings in order to bring in enough light into your camera’s sensor. Set the ISO too high and you will lose details and color quality in your images.
One of the reasons I love using the Sony a7S II full frame mirrorless camera for night photography is because it has such high levels of ISO performance. Where most cameras begin struggling at ISO 1600, I can capture images at 10,000 ISO and still have very clean looking results. Ultimately make sure you know the strengths and weaknesses of the camera you end up using.
Use a Sturdy Tripod
The vast majority of my aurora images are taken with a shutter speed that ranges from 4 seconds to 30 seconds. At those speeds, it is impossible to hand hold a camera and still get sharp results. Picking up a sturdy tripod to use with your camera will open up the creative possibility of using long exposures to help you capture the northern lights.
My go to tripod company of choice is Induro. I often use the CLT 304L or CLT 104 when working out in the field.
Tips & Techniques
Now that you have an idea of the kind of gear you will want to use to photograph the Northern Lights, lets talk about some tips and techniques to help you come away with the best possible photos.
Start with a Test Image
When you come across a new scene you are unfamiliar with, it can help to shoot a few test images to get a feel for how everything is looking. This is especially handy if you are witnessing a low KP storm, such as a KP 2 for example, as it might not be super visible to the human eye. I suggest you bump your ISO up as high as it can go, use a low f/stop number (such as f/2.8 or f/4) and try for a 5 or 10-second exposure. The resulting image will not look great, but it will hopefully give you a quick clue as to what your camera is picking up so you can re-frame and reset your exposure (ISO, f/stop and shutter speed) for the actual image you wish to capture.
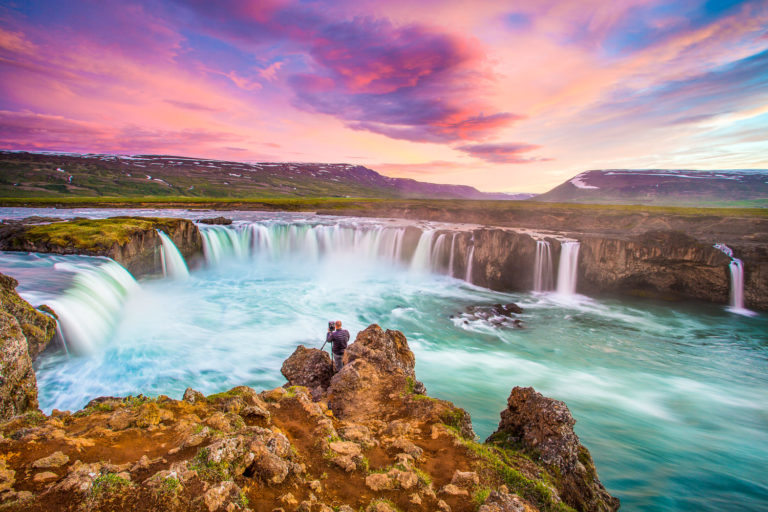
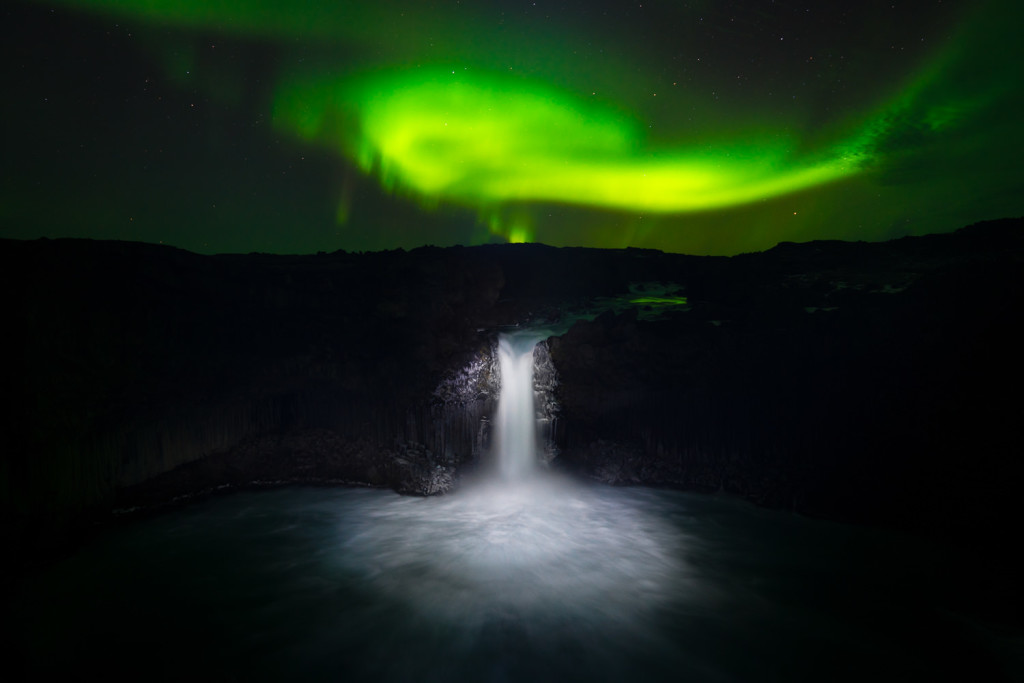
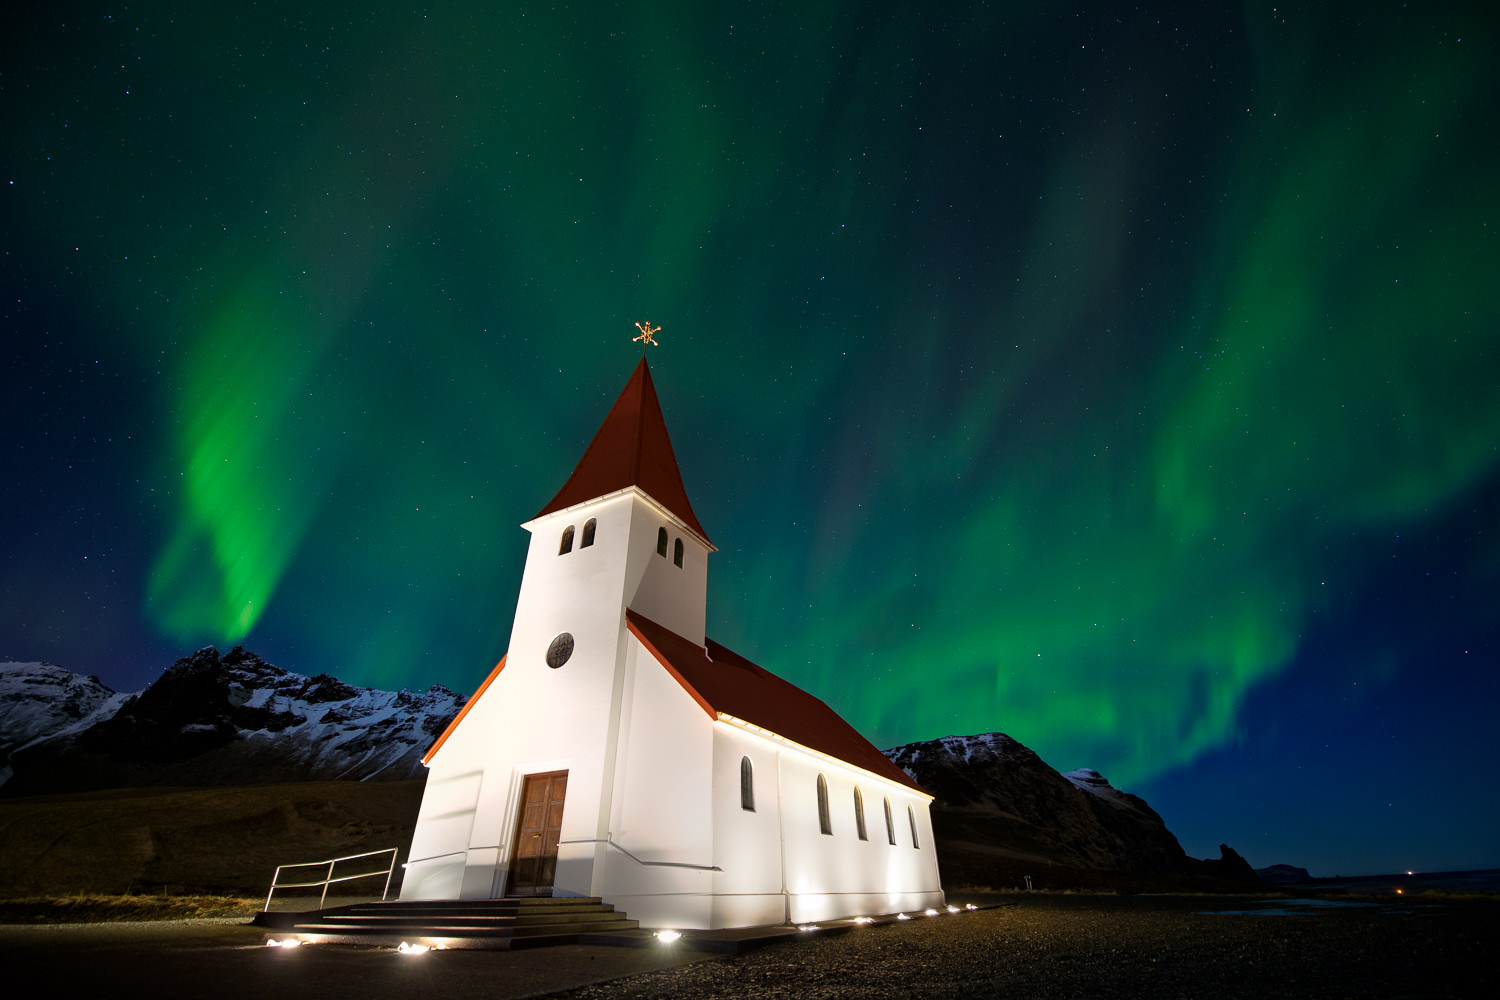
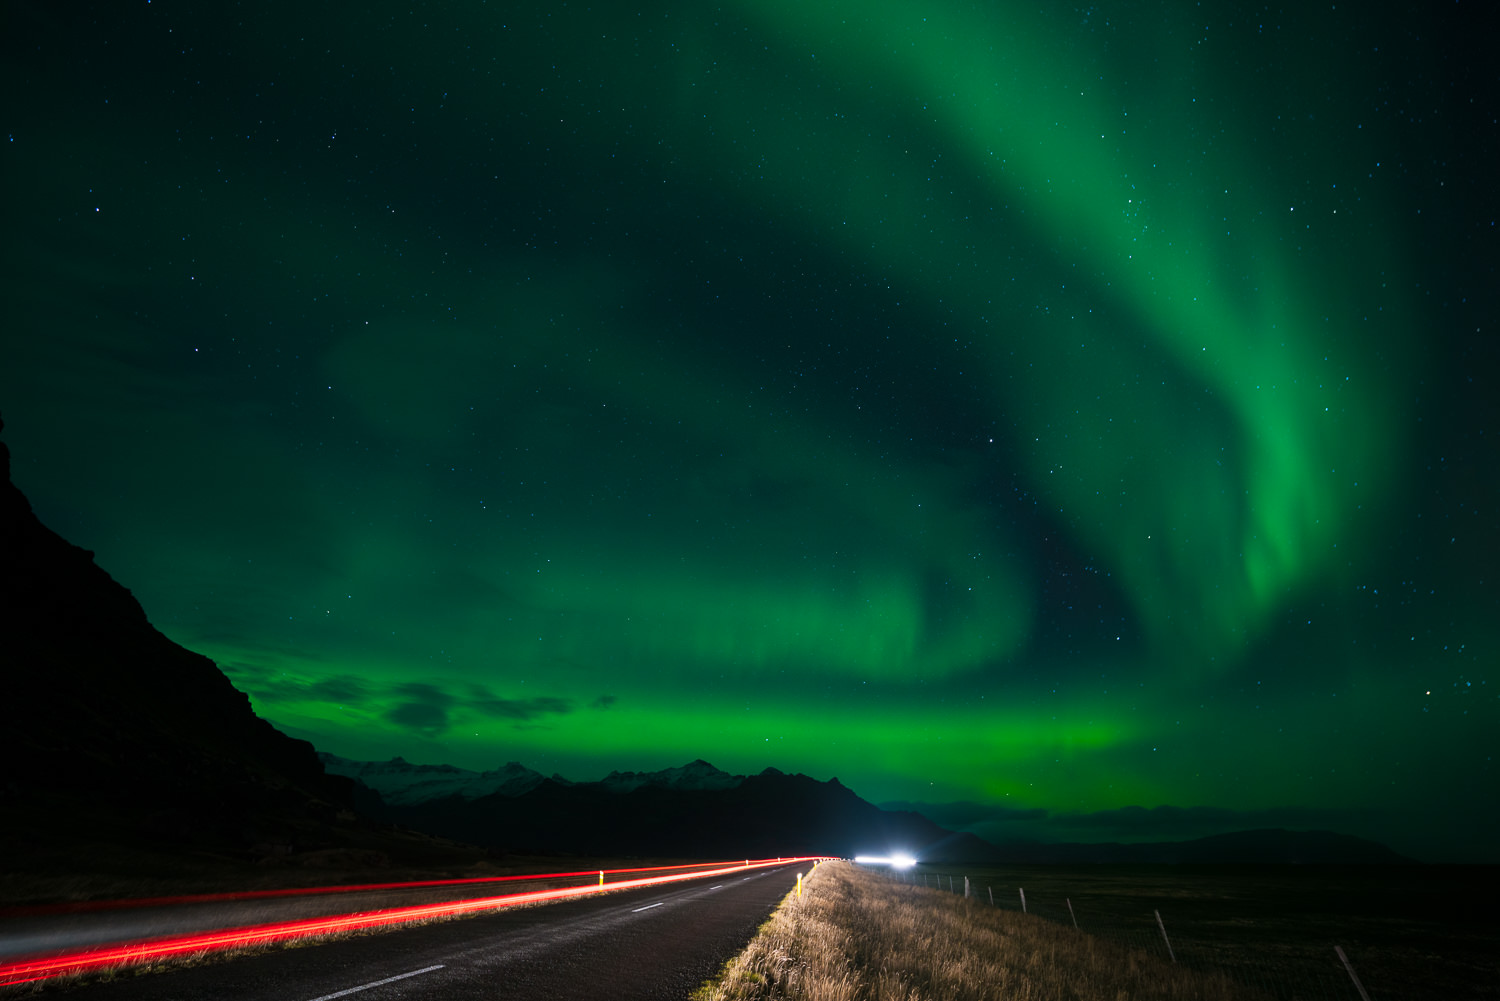
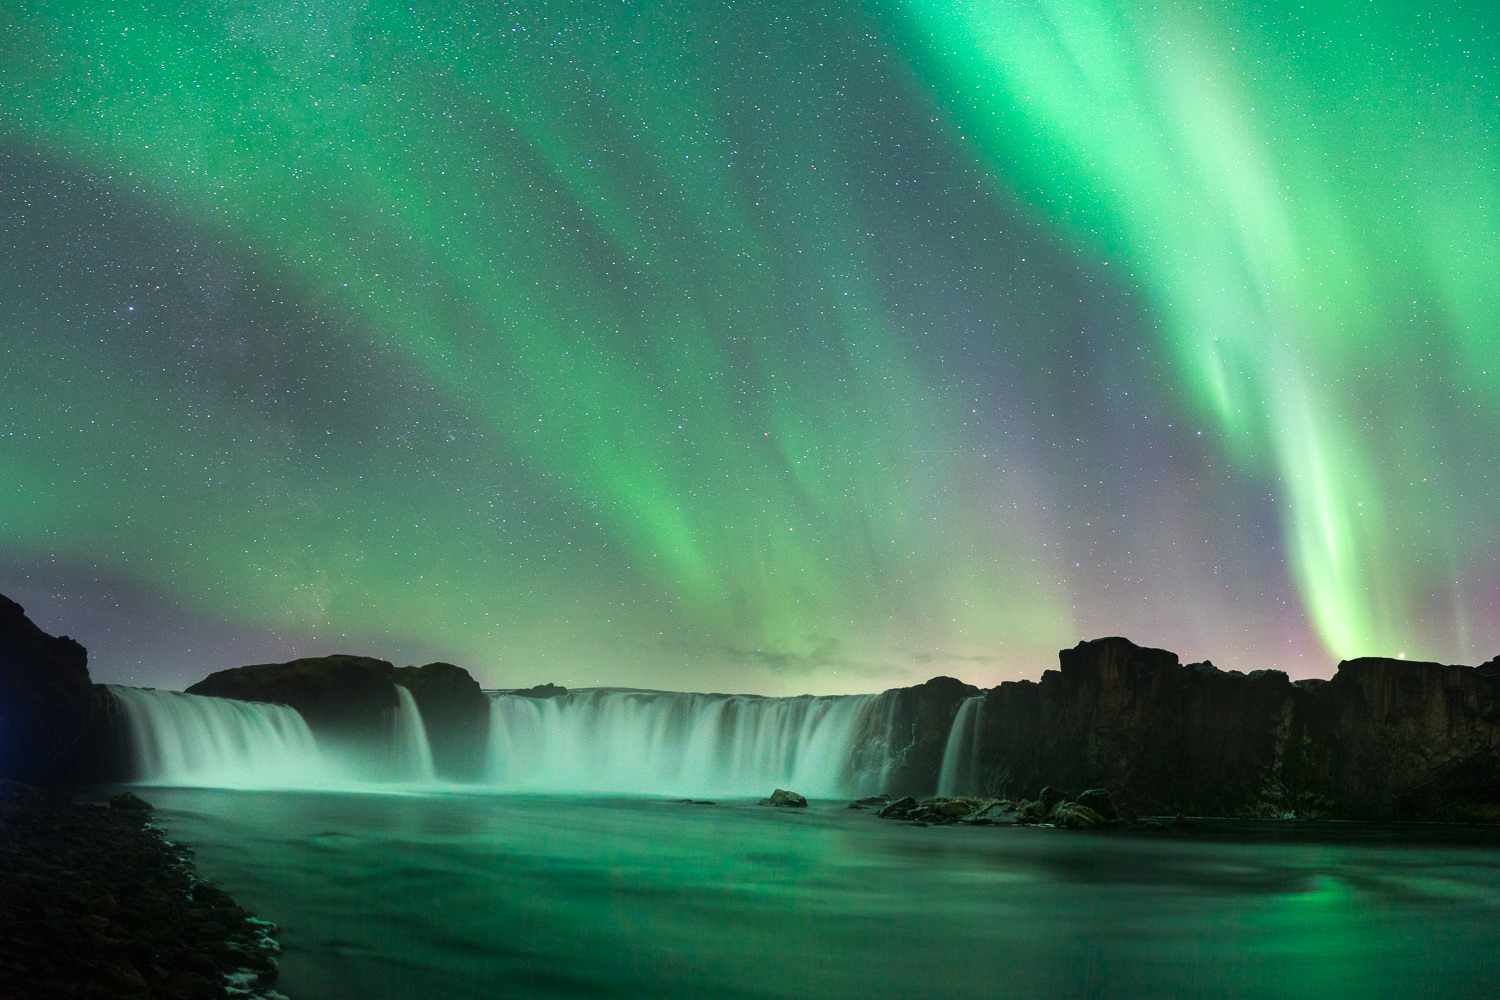
Give Your Images a Sense of Place
If you simply take photos of the Norther Lights dancing in the sky above you, it is hard to get a sense of scope and atmosphere of where you were when you took the image. Including a nearby lake, house or mountain range can really help add a bit of depth to your images.
Use Manual Focus
Trying to use your camera’s auto-focus system to focus in the middle of the night is usually a lost cause (depending on how dark of environment you are working in). Instead, use manual focus. This too can be difficult to achieve, but I often find the harsh contrast of a far away object, such as a mountain against the night sky, provides more than enough opportunity to help you dial in perfect focus. Using your camera’s live view or viewfinder can help in these situations as well, depending on your camera model.
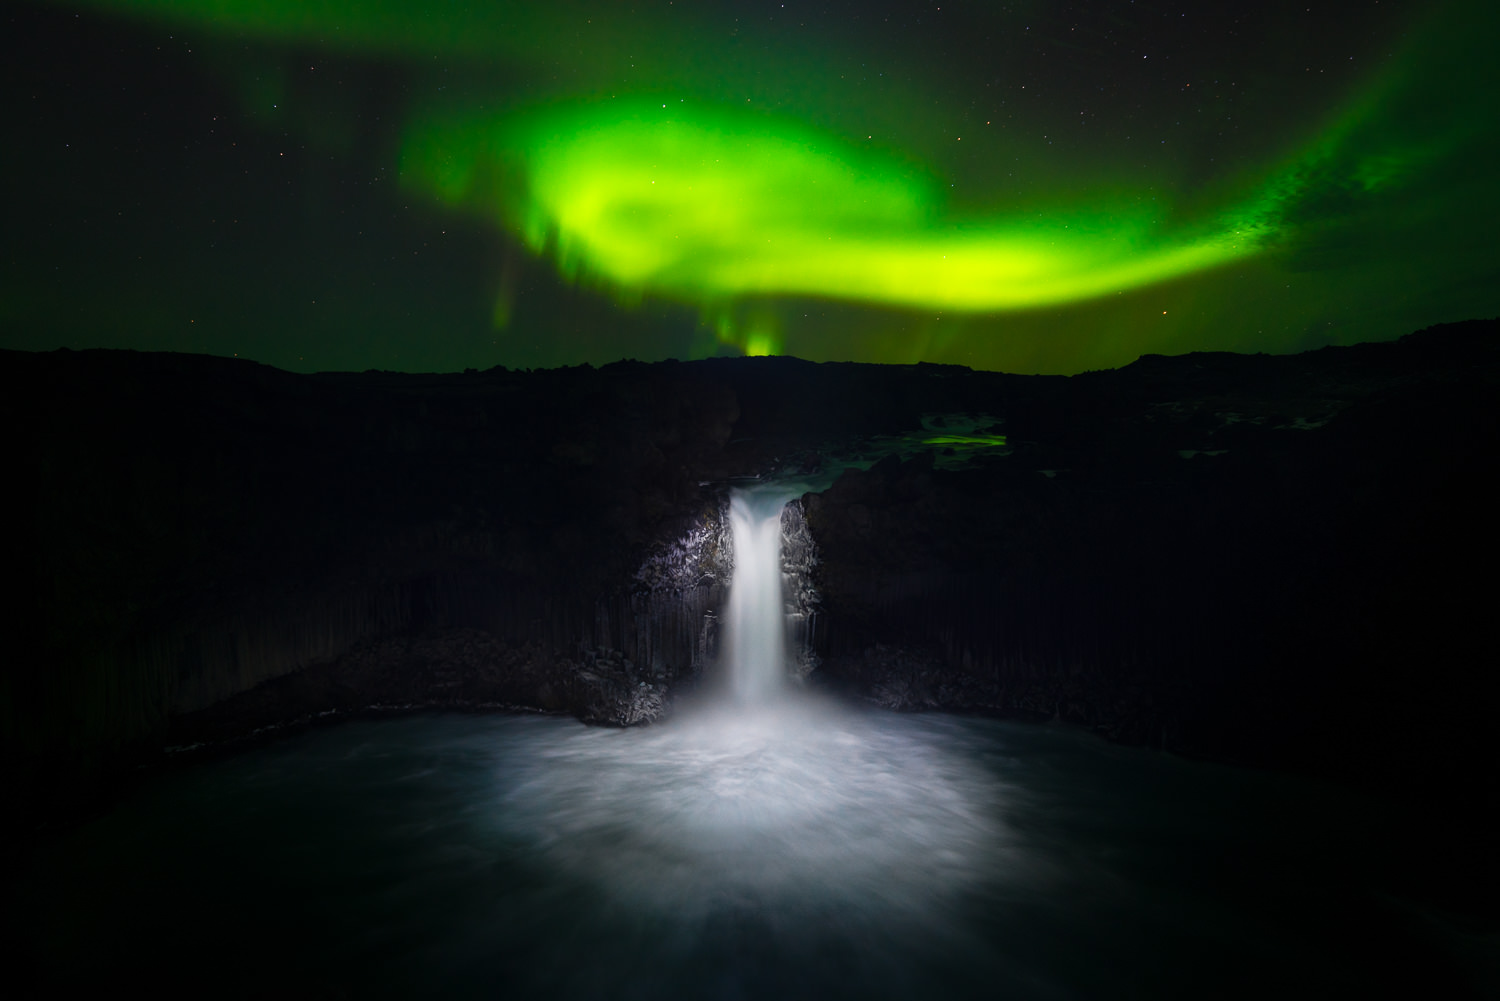
Experiment with Light Painting
One of the more creative ways you can capture the Northern Lights is to use a flashlight to help you paint light into your photographs. This often requires a bit of experimentation as you balance the amount of light coming from your flashlight, the duration you let it reach aspects of your scene and the exposure levels you set for your camera. Regardless of these challenges, the results speak for themselves when everything works out.
The trick is to lightly paint in light from your flashlight on o any object you wish to light up. Often times keeping your flashlight on anything for longer than a second or two will result in your camera simply capturing way to much light, creating hot spots where you lose all detail in the process. In these situations…less is more!
Going Solo vs A Tour/Workshop
Now that you have an idea of where to go, what to look for and what gear to bring, you need to figure out how to make it all happen. While you could certainly book flights to any of the countries I mentioned and try to sort out your own lodging and transportation logistics along with trying to find the best places to shoot…or you can go with someone that knows what they are doing.
For the last few years I have been running photography workshops/tours to Iceland & Norway that specialize in Winter Adventures. Additionally, if you are keen enjoy a short holiday focused on the Northern Lights to Canada, Greenland, Finland, Sweden, Russia (as well as Iceland & Norway), check out Best Served Scandinavia. They have a ton of options for Winter Holidays to these amazing locations.