Skip to content
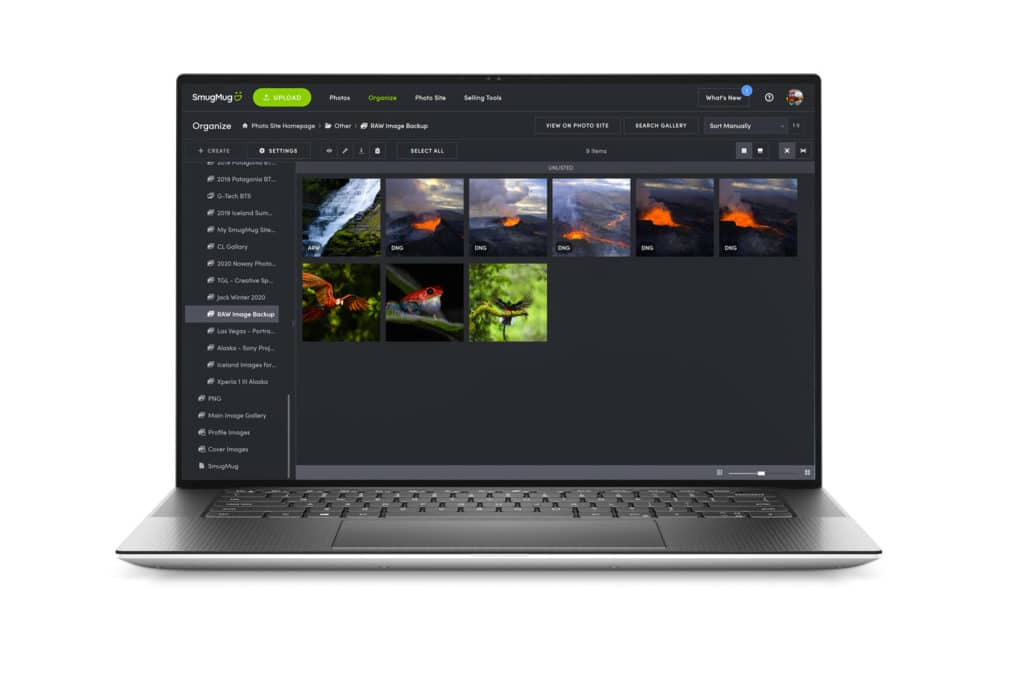
When it comes to being a photographer, one of the most overlooked but vital aspects of working in this field typically comes down to how individuals keep their images safe. It doesn’t matter if you are doing this full time for a living or you just enjoy photography as a personal form of expression, the moments and experiences you capture with your camera are incredibly valuable to each of us. Losing an image, especially a RAW file, let alone an entire shoot or a hard drive full of images can be devastating, both personally and possibly financially as well.
For many of us, having a copy of our images online is one of the best ways to ensure they are always safe, no matter what happens to our computers or hard drives back at home. But the problem with most online image management backup solutions is that they are incredibly cumbersome to use, take forever to get actually get your images backed up to the cloud and most photographers simply pray they never have to try to recover a large number of files because the process can be painful. But today the team at SmugMug has launched SmugMug Source, which reimagines how an online image management backup system should work.
The Problem with Standard Online Backup Solutions
No matter if you have been using Google Drive, Drop Box or even the popular Backblaze as your final layer of redundancy to keep your images safely backed up online, there are always huge compromises one has to typically contend with to have that piece of mind that your images are truly safe. Here are a few of the biggest pain points I have personally dealt with over the years having used all of the above services and a few others I didn’t mention…
Uploading Images
One of the core issues that come with nearly every online image backup solution has to come down to the fact that you have to upload the images you want to back up in the first place. Many services, such as Backblaze (which I am currently a paying member) actually throttle your upload speeds to make them slower. So if I have to upload 1TB of RAW images after a trip, that could potentially take a week or two to fully upload to that service, depending on your upload speeds. This becomes incredibly problematic if you are moving to a new service and have multiple terabytes to upload. In the past I have done this and it took me close to 6 months to fully move to a new online backup service in order to move 10TBs of data. Needless to say, the wait drove me crazy!
Poor User Experience
If you have ever used an online backup service to keep your images safe and you found yourself trying to get access to your stored images, you can probably attest to the often atrocious user experience found with most of these online services. This not only comes down to the onboarding process of getting your account setup and images uploaded, but also finding and viewing your images as well. Most of these services won’t even provide image thumbnails for you to see which images are which, let alone allow you to search for the images in question via EXIF data, and that is just talking about JPEGs. None of these services allow you to preview your RAW images or even organize your images in a way that makes sense for your growing portfolio.
Want to Recover Your Images? Good luck...
If you have ever found yourself in the position where you need to recover backed up images, you know how much of a hassle this typically is. Not only is it often not easy to find the image(s) in question that you wish to recover, but the actual act of downloading them can be convoluted as well. For example, with Backblaze or Crashplan, I have to head to their obscure website, blinding choose the images in question (because they don’t show previews of RAW files), download the image(s) in question, recheck I got the right ones and then start the process over. If I have to recover a large number of files, I can opt to pay for some of these services to ship me a hard drive (which they over charge for) and then wait a few days to a week for it to arrive. Needless to say…there has to be a better solution!
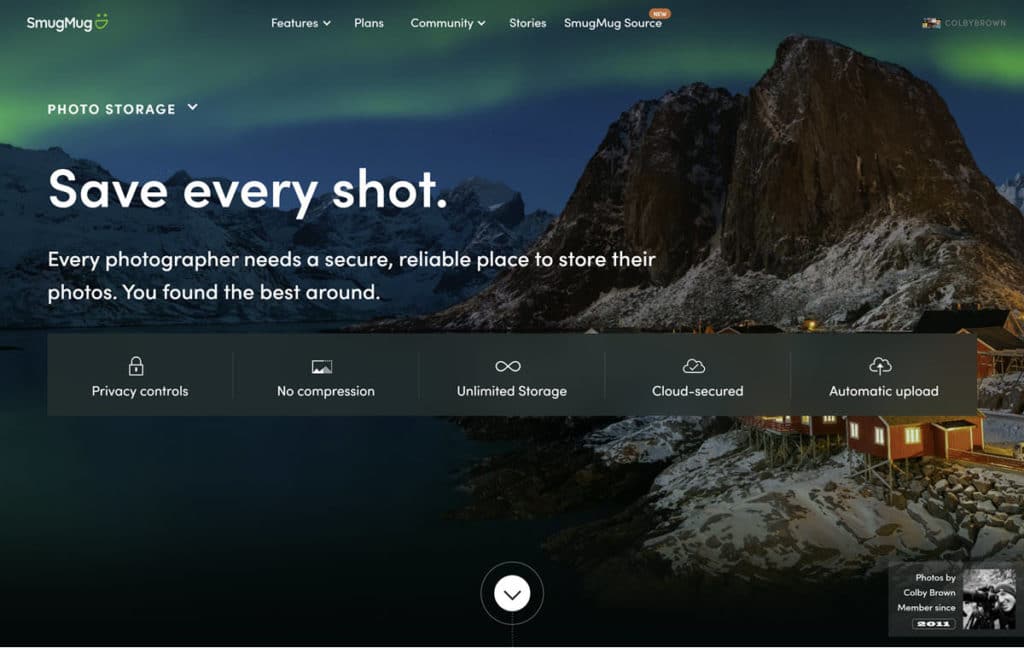
What is SmugMug Source?
At its core, SmugMug Source is aiming to redefine what an online image backup solution truly should be. For years SmugMug has been a major player in the photography website/online image gallery space, allowing you to create incredible customized websites, full of image galleries that you can access from any device, anywhere on the planet. With SmugMug Source, they are taking that concept to the next level by allowing you to not only upload your finalized JPEG images that are part of your image portfolio, but all of your original RAW files as well.
I have been using SmugMug Source for the last few weeks and I have to say that I am pretty dang impressed with not only how simple it is, but also how it is far superior to Backblaze (which I currently pay for), Crashplan (which I used to use) or even Google Drive/Dropbox. Why?
This mostly comes down to a few key factors.
Upload RAW Files from Anywhere
SmugMug makes it very easy for me to upload my RAW files to Source, using a variety of different options. I can simply sign into my SM account via any browser and upload right from there, use the SmugMug Desktop App (Mac – Windows) to drag any RAW images I want to upload or I can use the Adobe Lightroom SmugMug Plugin, which I personally love and use on a regular basis to keep my main Image gallery update to date on this very website. I will walk you though each of those steps in the next part of this article.
RAW Image Preview
Unlike all of the alternatives when it comes to online image backup services, I can actually see what my RAW images look like thanks to the JPEG preview SM’s system automatically generates for its users. As soon as a RAW image is uploaded, a JPEG preview is generated, so you always know which RAW images you are looking at.
The Gallery Interface
If you are used to creating and organizing online image galleries with SM or any other service, you should feel right at home with SmugMug Source since it uses the same SM gallery system for both JPEGs and RAW image files. By signing into my account on the SM website, I can easily move files around, rename things, create new folders or galleries and much more. What a breath of fresh air compared to all of the other options out there!
Setup Guide for Using Smugmug Source
No matter how you choose to upload your JPEG & RAW images with SmugMug Source, the process is both simple and pretty straight forward. Here is a step by step guide for each of the main uploading options to help you make sure you don’t miss a step.
Using Any Browser
One of the easiest ways to upload your JPEG or RAW images to SmugMug is to use the latest version of any web browser.
Step 1: Head to www.smugmug.com
Step 2: Login to your SM Account
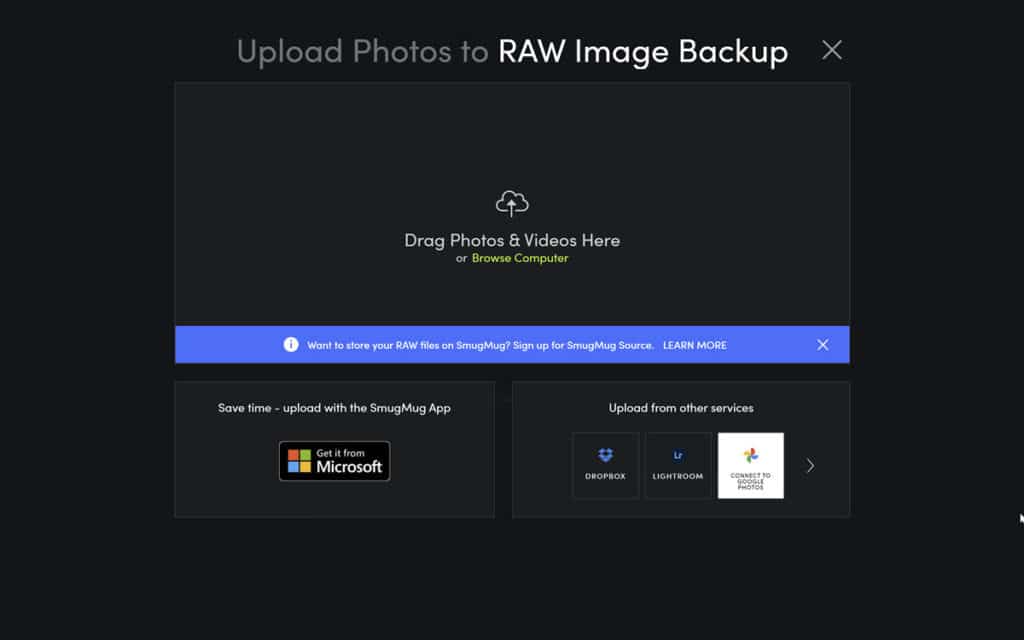
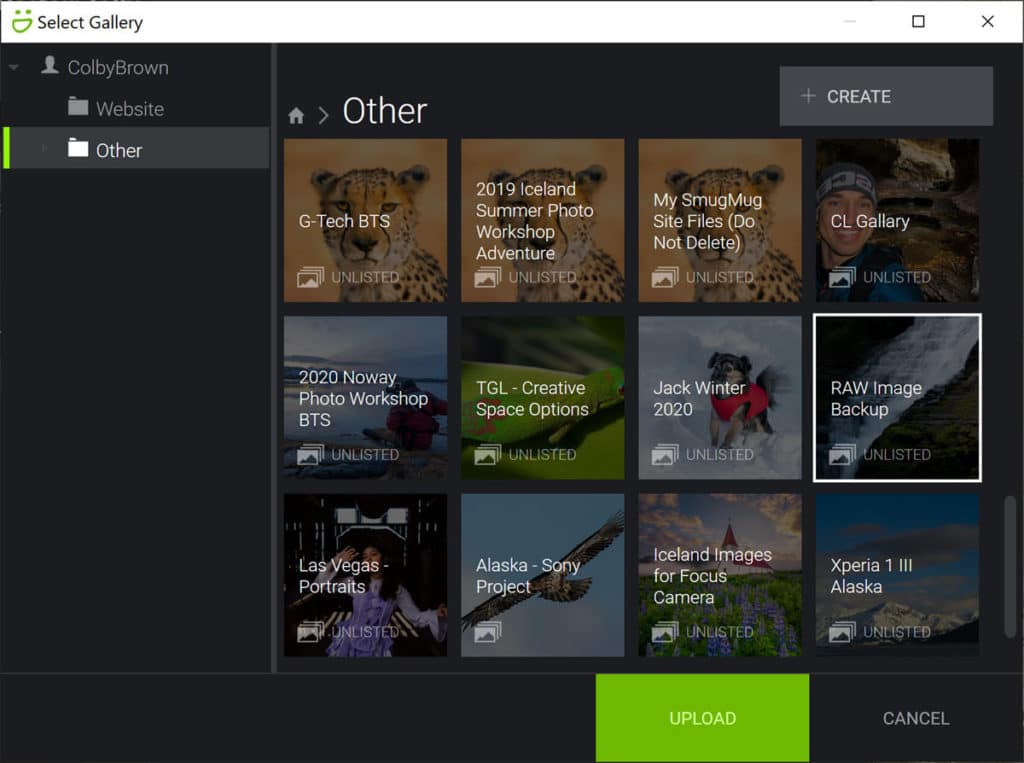
Step 3: Click the “Upload” button at the top of the screen and choose the Album you want to upload your RAW images to
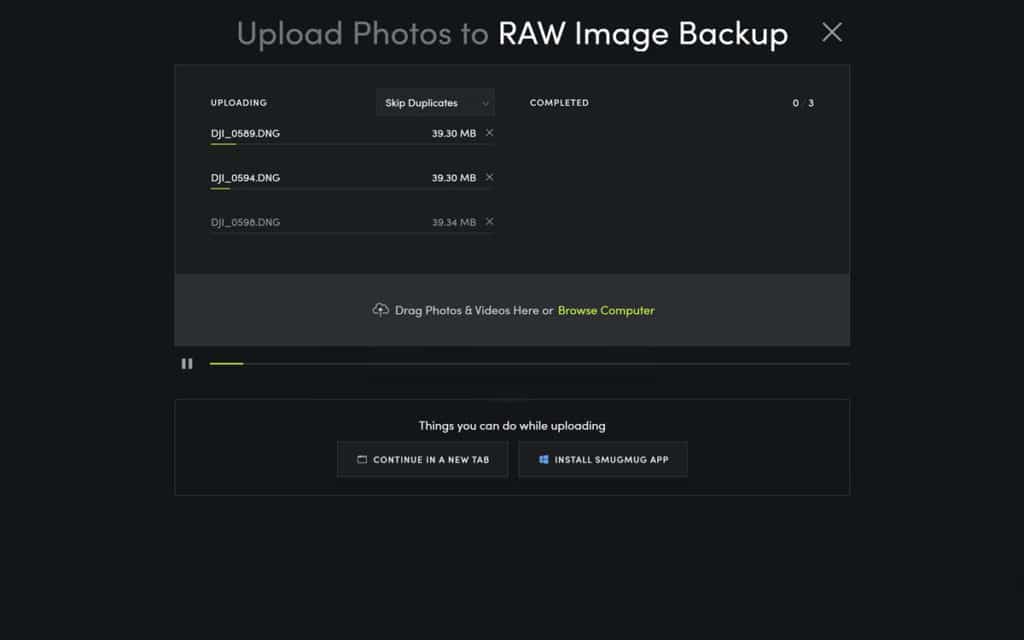
Step 4: Wait for the upload to finish and you are done!
The SmugMug Desktop App

If you don’t want to hassle with your web browser, you can always download and use the SmugMug Desktop app and use it to upload your images to SmugMug Source.
Step 1: Download the SmugMug Desktop App (Windows / Apple).
Step 2: Sign Into Your SmugMug Account
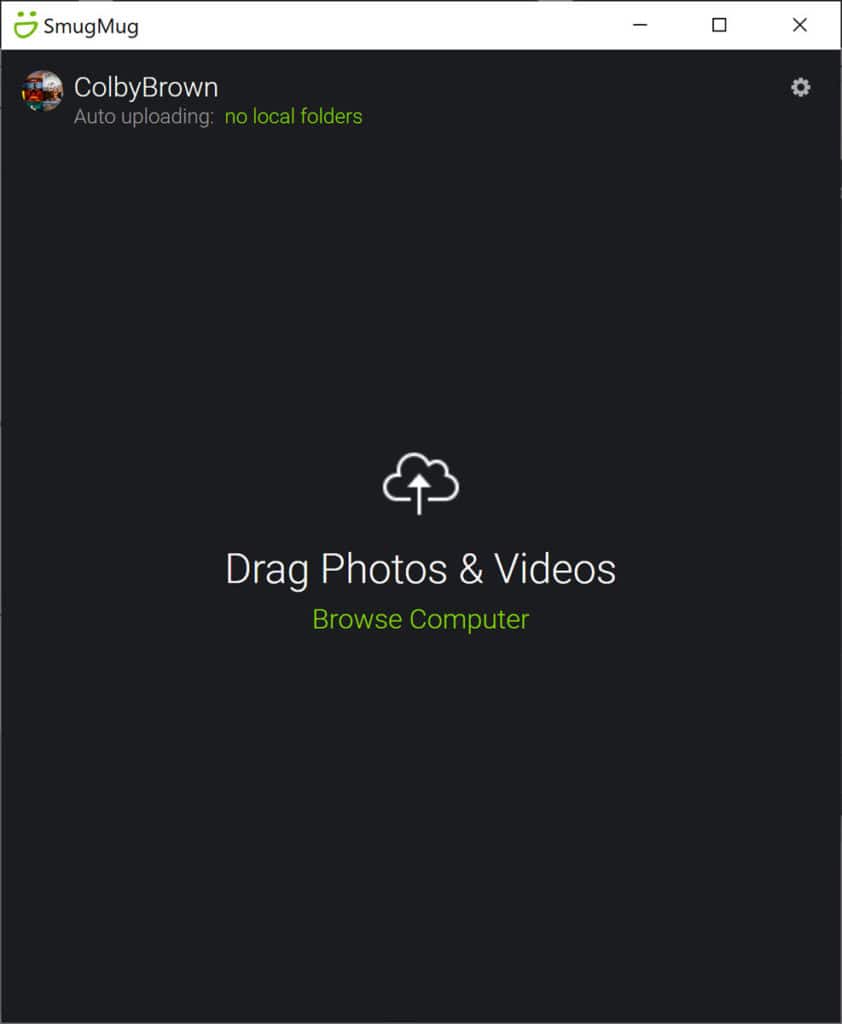
Step 3: Drag the RAW images you wish to upload to the App itself
Step 4: Select the Album you wish to upload those files to and press “Upload”.
The Adobe Lightroom Plugin

One of the reasons that I love to use SmugMug to host my image galleries in the first place comes down to their highly popular Lightroom Plugin that I absolutely love to use. It’s simple integration into Lightroom, makes it very easy to not only great new image galleries, but keep your images organized and updated. With RAW files, this is no different. When I am at my home studio, this is absolutely my preferred method when it comes to uploading my both my RAW and finalized JPEG images.
Step 1: Download the SmugMug LR Plugin (LINK)
Step 2: Install the Plugin
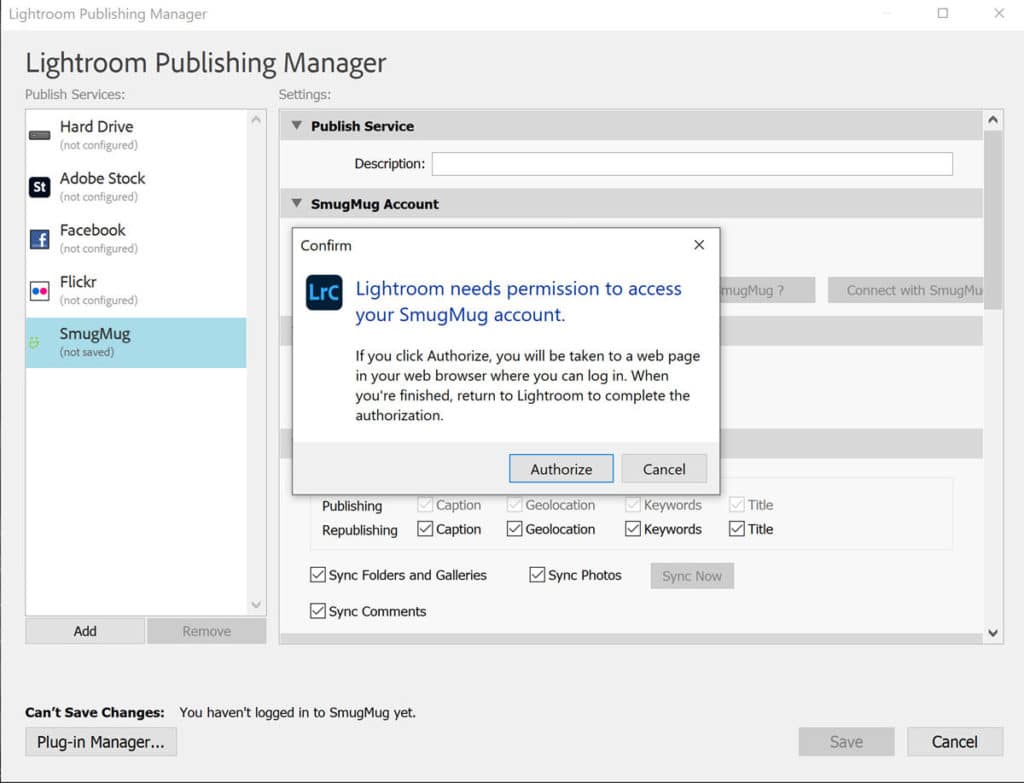
Step 3: Sync to Your SM Account
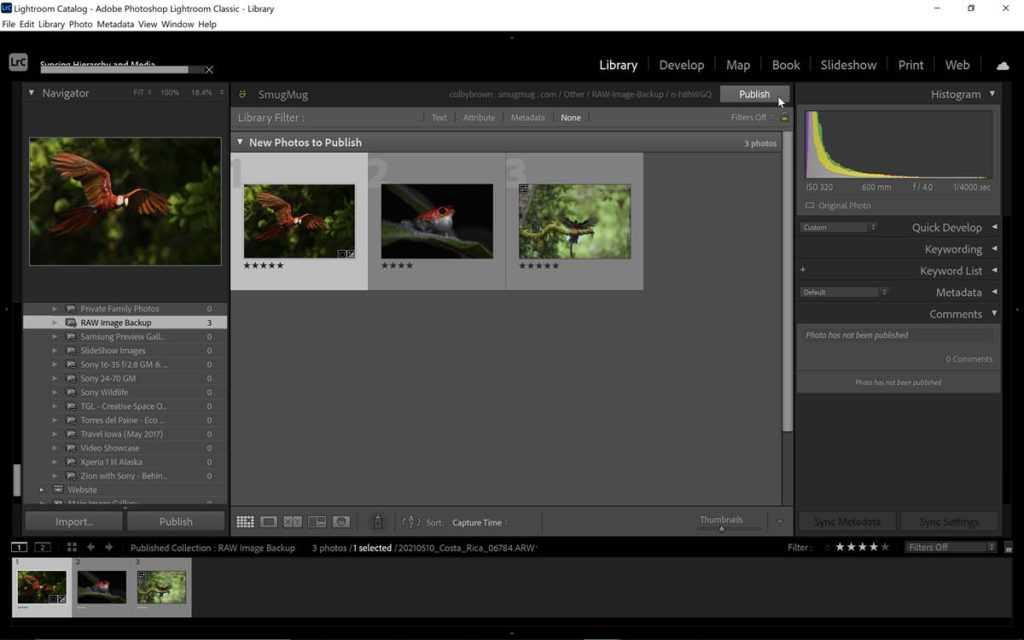
Step 4: Drag your RAW images to the album in question and press the “Publish” button
What About Pricing?
So know that you know much more about SmugMug Source, it is time to talk about the pricing. As we all know in the photo industry, nothing is really free afterall. So how does it all breakdown?
– Starts at $3/mo for up to 512GiB of space.
– Between 512GiB and 1TiB will cost $5/mo
– Each additional TiB above 1 TiB will cost $5 per month
Final Thoughts
With SmugMug Source, I feel that a company is finally taking image backup and image asset management seriously. This is a service designed by photographers, for photographers. With all of my RAW images backed up to Source, I no longer have to worry about carrying around HDs full of images (JPEGs & RAW files) on the chance that a client will reach out to me while I am out in the field. With SmugMug Source, I can easily keep all of my RAW files backed up online and organized to fit my needs. When I do need access to a file, I can easily find it thanks to SmugMug’s search features, use any device that I have with me and quickly download it without any hassle along the way.
While most online image backup services are meant to only be used in emergency situations, I plan on taking full advantage of having full access to all of my RAW images all the time…from anywhere in the world.