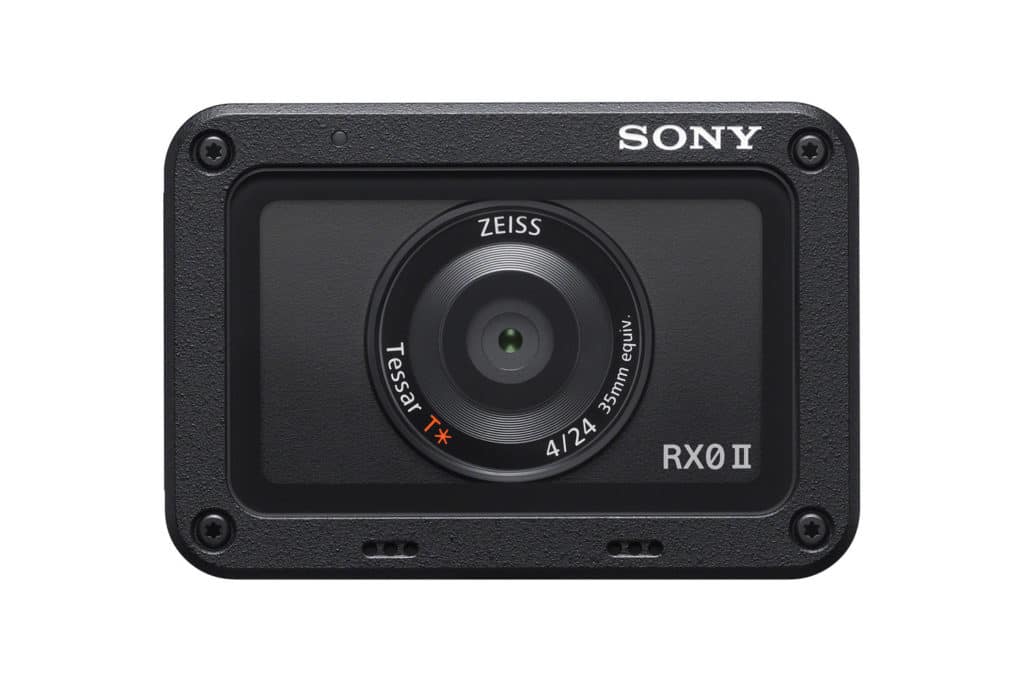
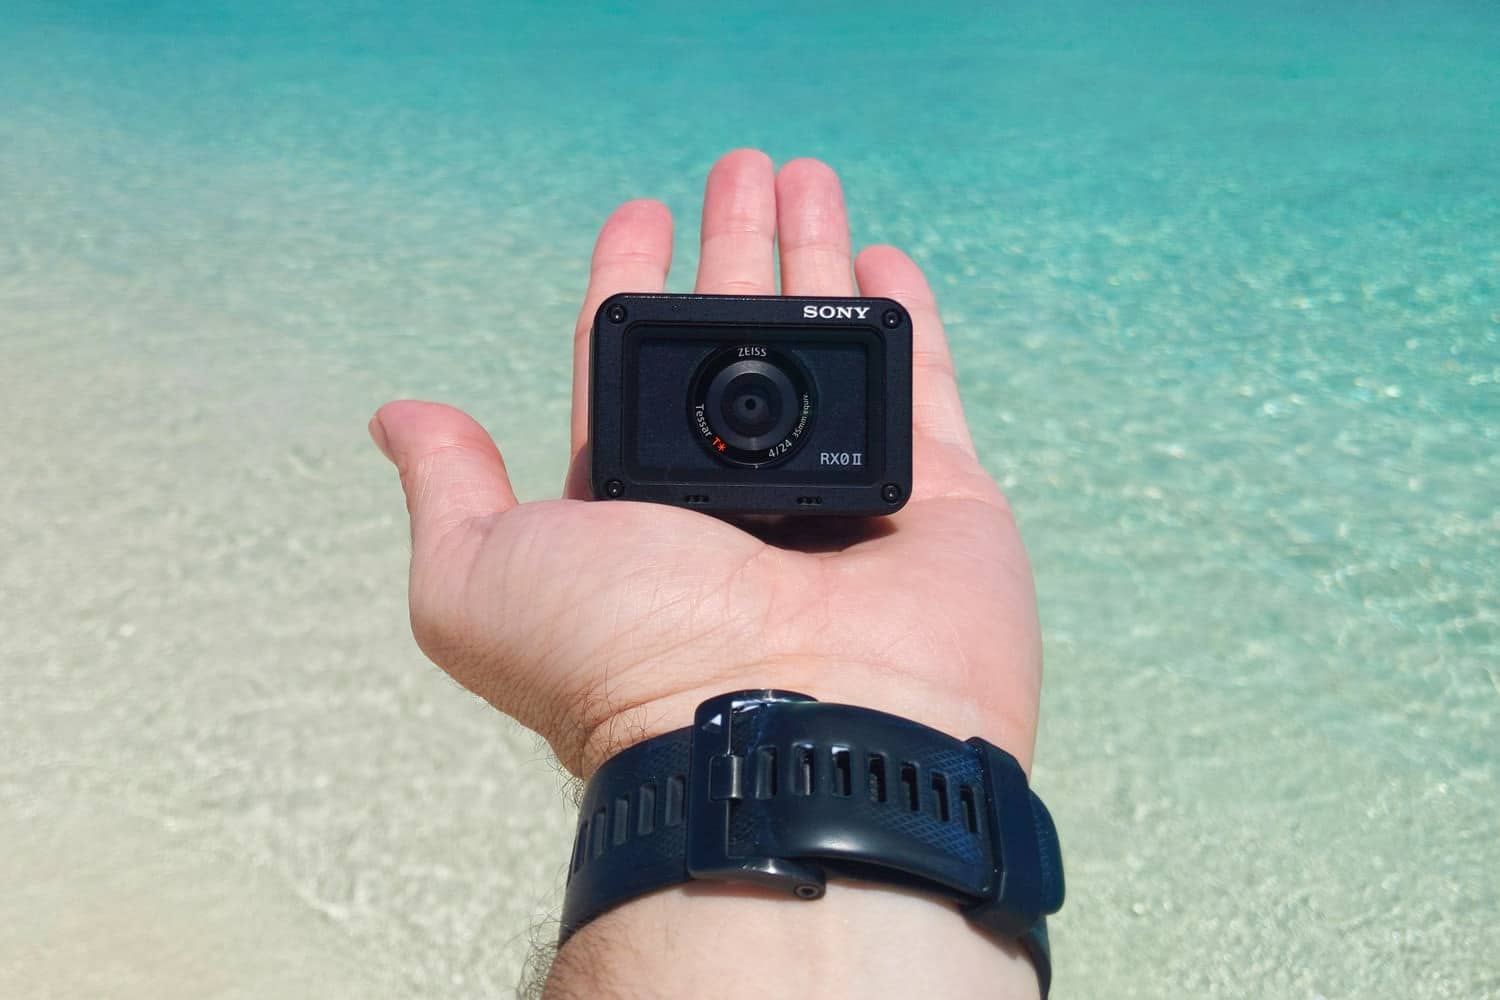
In April Sony released the successor to its RXO line of compact cameras, the RXO II. Although when I say “compact”, I actually mean tiny! This thing is incredibly portable, coming in at just 2-3/8 in x 1-5/8 in (59.0 x 40.5 x35.0 mm) in size and weighing only 4.7 oz (132g).
But it wasn’t the size of the RX0 II that initially got me excited about this new camera, it was the power under the hood! With a 15.3 megapixel 1” Exmor RS® CMOS sensor, the same sensor found in Sony’s popular RX100 line of cameras, I knew it would be capable of taking some pretty amazing images. Couple that with internal 4k video support, 16fps shooting, built-in time-lapse mode, a flip up rear LCD and a camera body that is waterproof, dustproof and shockproof, I knew I had to take one with me on some of my upcoming adventures to both mountainous region of Patagonia as well as the gorgeous island of Turks & Caicos in the Carribean. Both destinations presented different kinds of challenges that allowed me to really see what this little camera was capable of.
Sony RX0 II Specs
- 0″-type (0.52″ x 0.35″) Exmor RS® CMOS sensor, aspect ratio 3:2
- 15.33 Megapixels
- IPX8 Waterproof/Crushproof/Dustproof Body
- Wide-angle ZEISS® Tessar T* 24-mm F4 lens
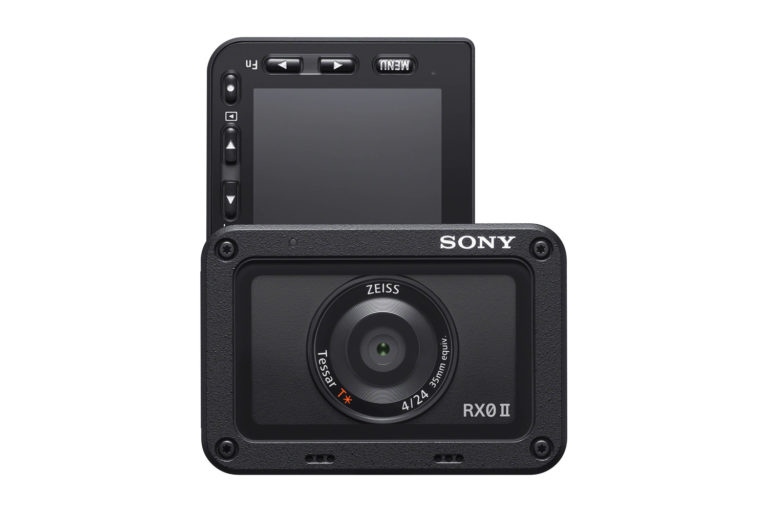
- 180-degree tilting LCD
- Internal recording of 4K movies
- Up to 960fps/1000fps13 super slow motion
- Built-in Wifi & Bluetooth
- Battery NP-BJ1
- Battery Life Approximately 60 minutes of video shooting
- Dimensions: 2-3/8 in x 1-5/8 in (59.0 x 40.5 x35.0 mm)
- Weight: Approx. 4.7 oz (132 g) (Battery and microSD Memory Card are included)
Design & Portability
If you haven’t ever used an Action Camera, such as the GoPro or even the original RX0, you are going to be blown away by its size. This thing is small! While I do have fairly large hands, I can probably fit 3 of them in the palm of my hand. As I mentioned above, it weighs just 4.7 oz and comes in at only 2-3/8 in x 1-5/8 in.
Because it is so small, you are a bit limited when it comes to the number of buttons you have access to. On top of the camera, you have a power button and a shutter button that allows you to take images, engage the time-lapse mode and start shooting videos. On the back, you will find a menu button to get into the main menu, left and right buttons to navigate the camera’s settings (one doubling as the Fn function menu), up and down arrows and a select button. I am also happy to report that the rear LCD screen now articulates, allowing you to not only see the screen from odd angles from behind but fully rotate it straight up so that it faces in front of the camera as well, perfect for vloggers and taking a quick selfie in the field.
It really helped to take the time to customize both my Fn menu as well as the “My Menu” section of the main menu, making sure all of the key functions of the device that I use the most are always just a button press away. This is especially important for me when it comes to engaging the Intervelometer Shooting mode when I want to capture a timelapse on the fly. I love that Sony allows me to fully customize their devices, which is something I do this with all of my Sony mirrorless cameras.
Personally, I love the size of RX0 II for a few main reasons…
It Can Always Be With You
There is really no reason I wouldn’t bring this camera on an adventure. It is simply too small! With other cameras, I often have to make judgment calls based on weight and size priorities, depending on the trip in question. In this case, I never have to make that call. It will simply live in my gear bag from now on.
Small & Unobtrusive
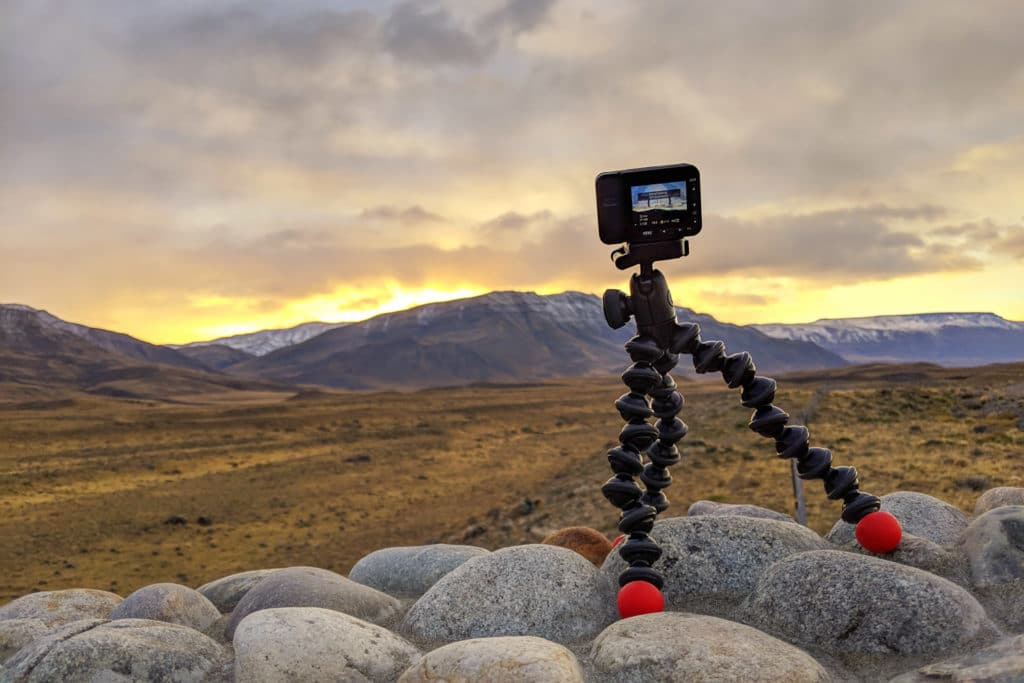
Because of its tiny size, it doesn’t stand out or call attention to itself. In fact, most people have no clue what it is, which gives you some leeway in using it to get certain kinds of images, videos or time-lapse that might be more difficult to capture with larger cameras. When you attach the Sony RX0 II to a small adjustable tripod from a company like Joby, and you get a pretty versatile setup.
How Rugged Is The RX0 II?
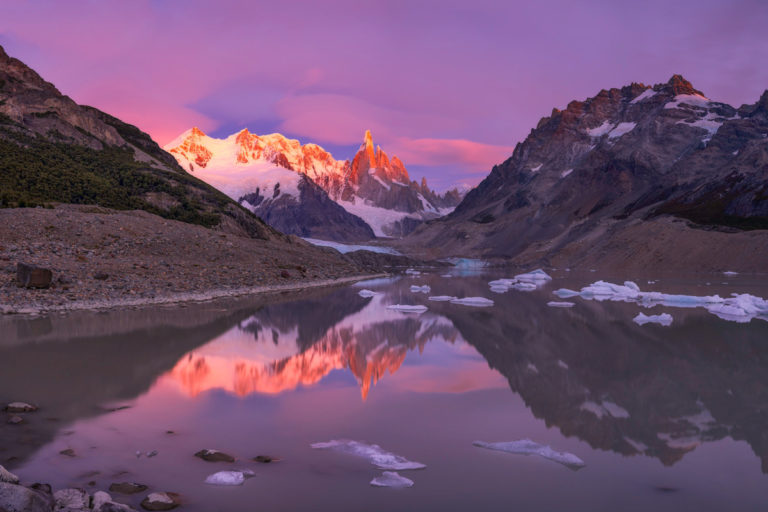
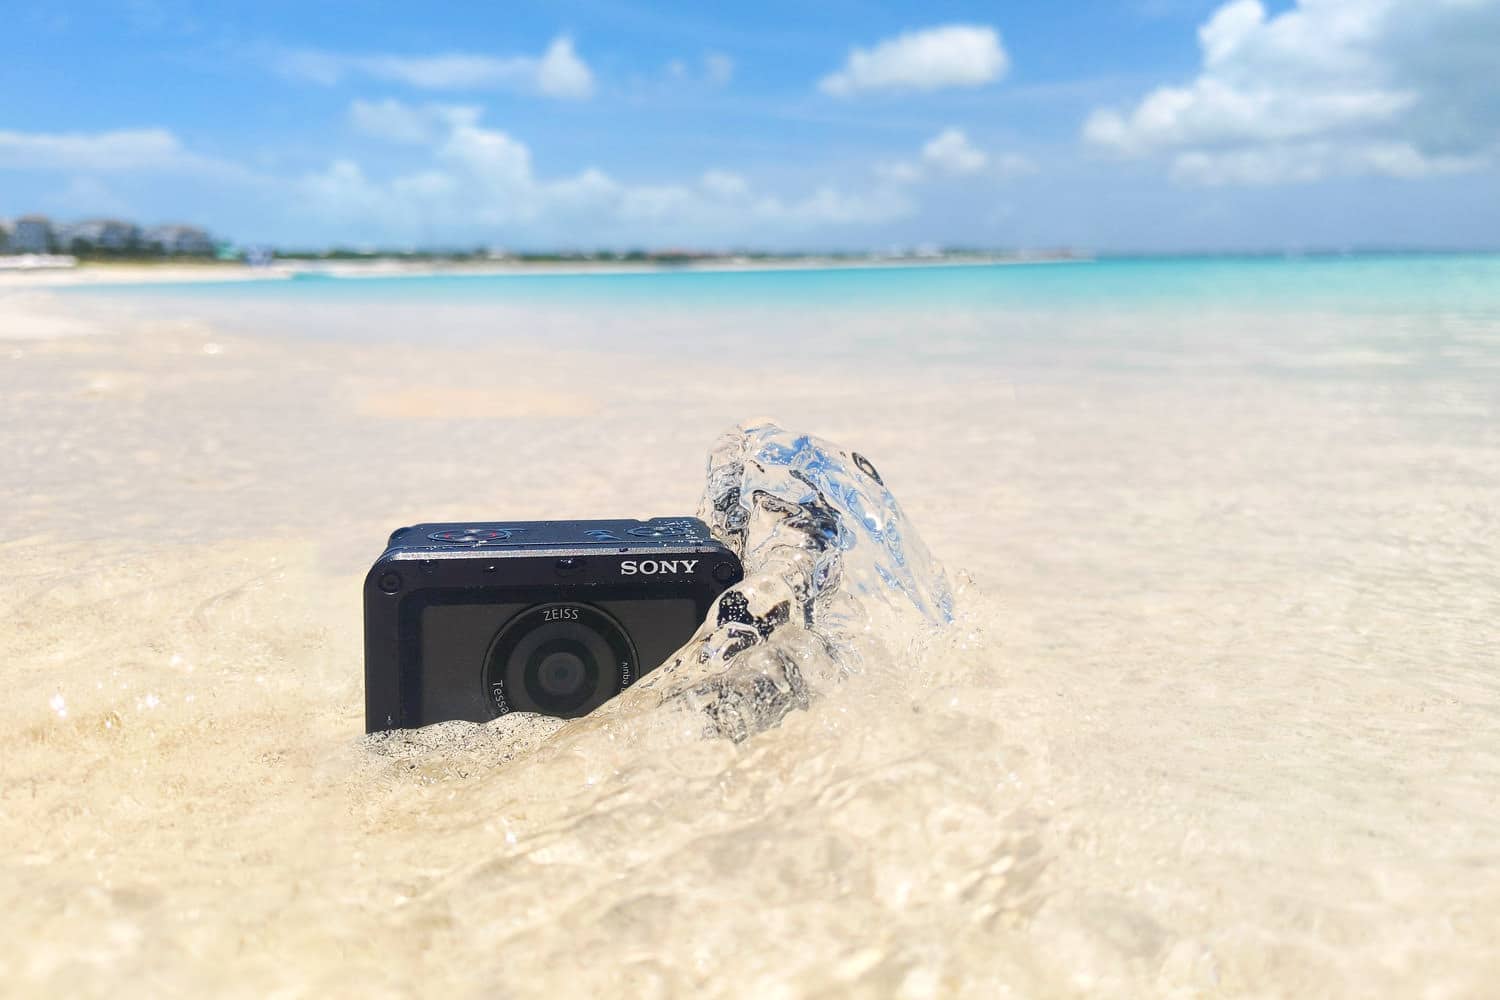
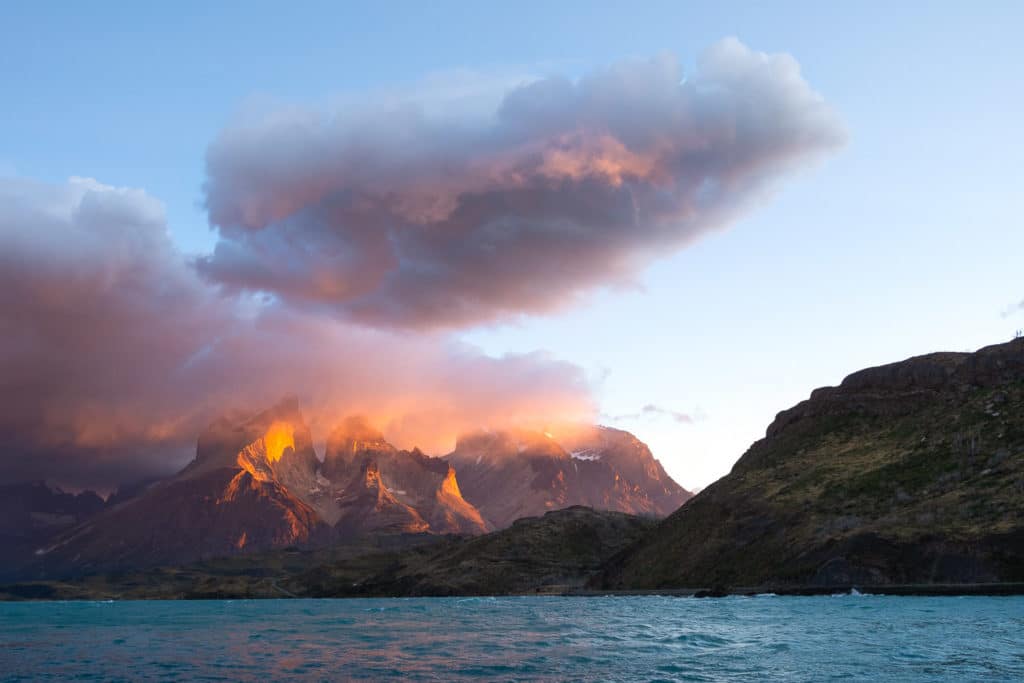
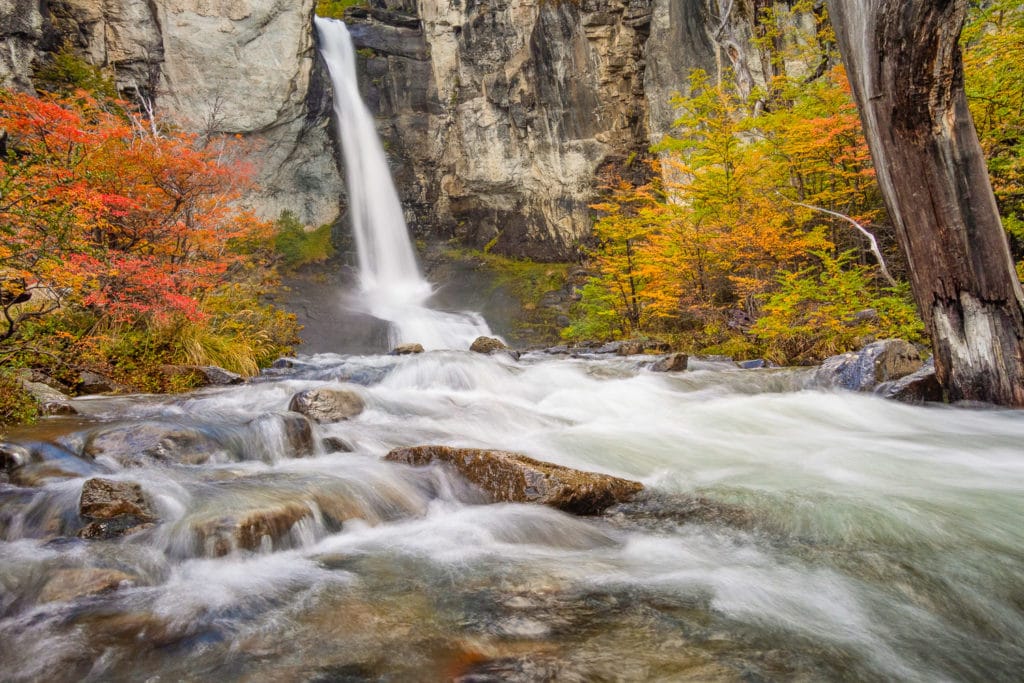
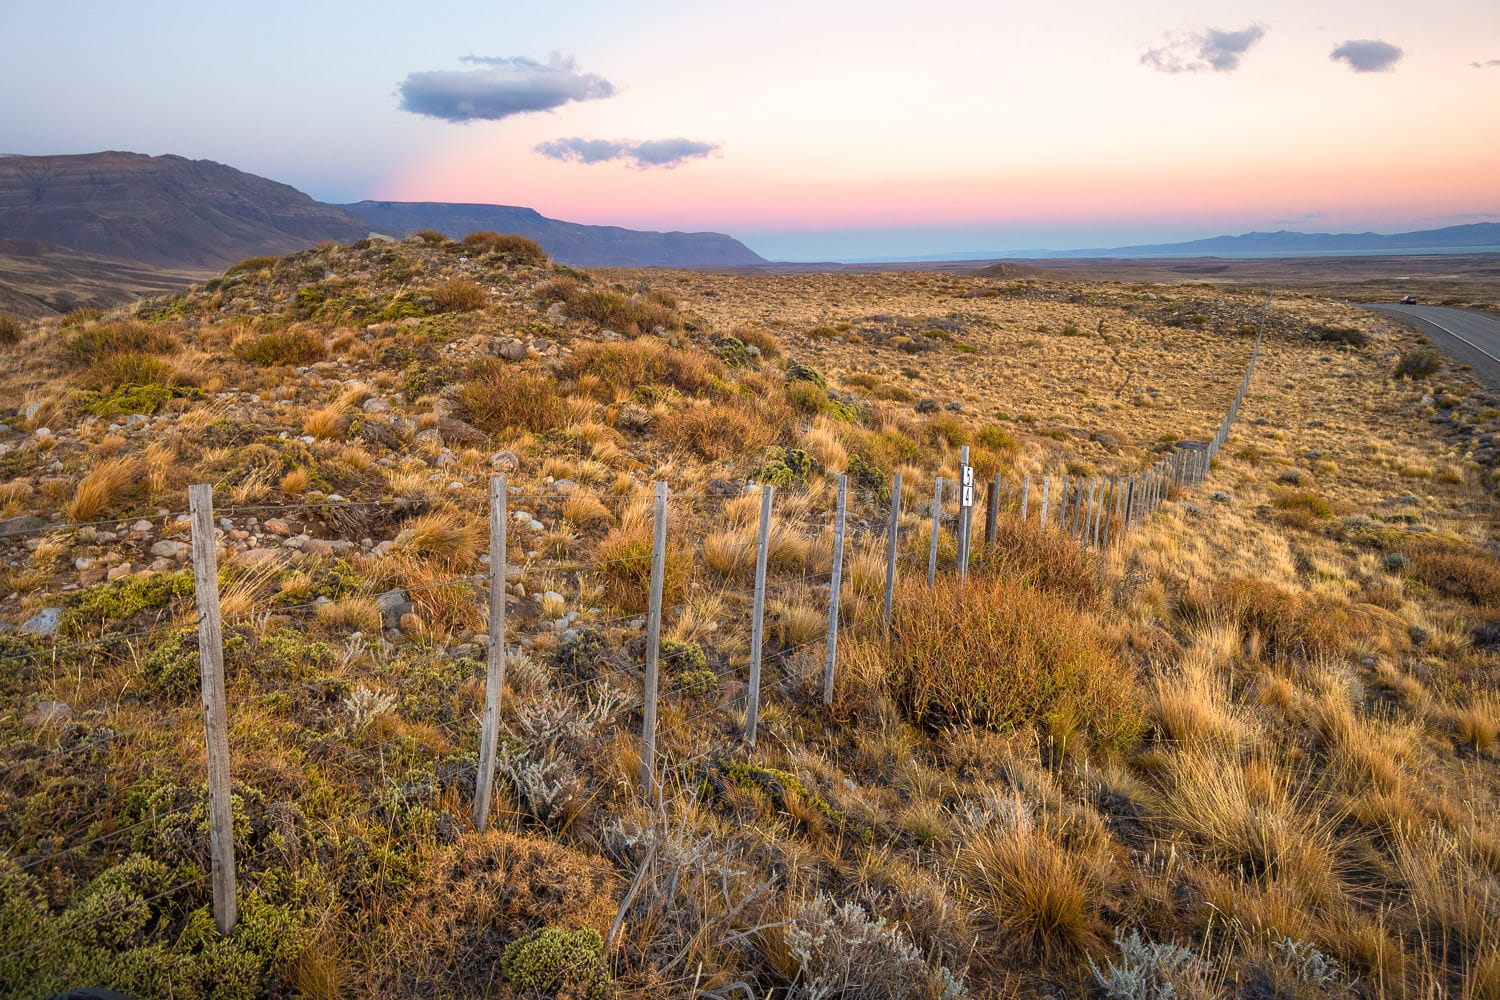
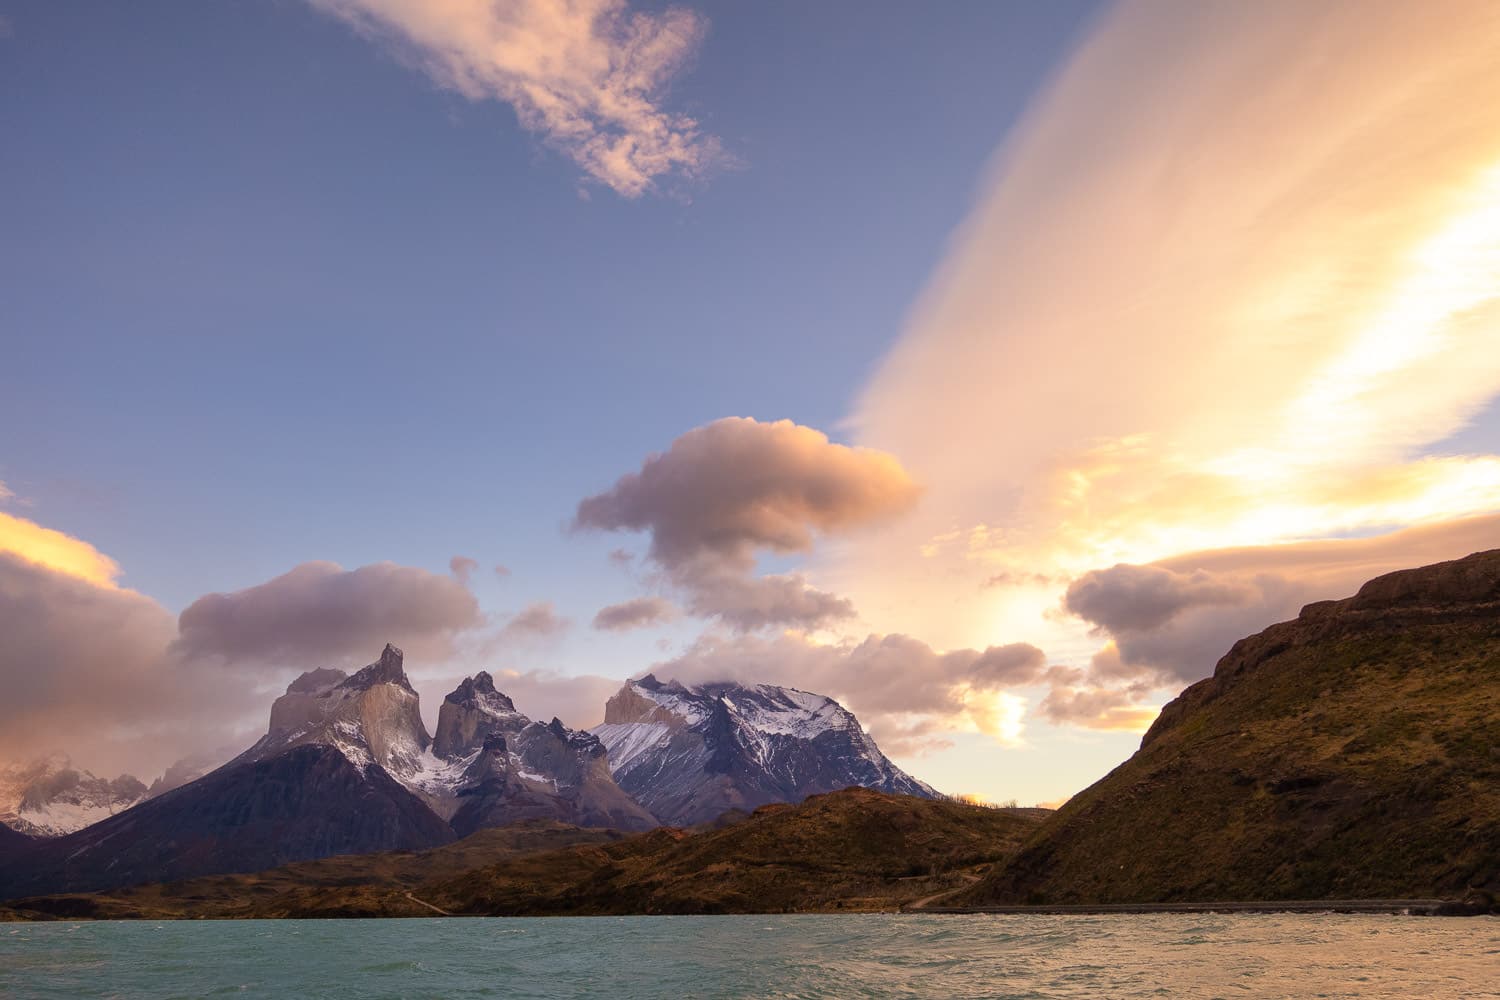
Alot of companies are trying to create rugged devices these days, but how rugged are they really? With the Sony RX0 II, I was able to really push this camera on both of my adventures. Patagonia is known for its intense weather systems and this year’s adventure didn’t disappoint. Over the three weeks, I spent in Patagonia testing the RX0 II, I experienced pouring rain, 125mph winds, snow, hail, and an occasional clear bluebird sky. In Turks & Caicos, I experienced the opposite end of the spectrum with 100-degree temps, high humidity and of course all of the challenges that come with using a camera like the RX0 II underwater as I snorkeled around a number of large reef sections around the main island.
So how did it do? Simply put, excellent. I had no issues on either of these two trips. In Patagonia, the harsh weather was challenging to shoot in, especially with the high winds, but the RX0 II held its own. Because it is so small and has such little surface area, the massive wind gusts barely moved the camera, even when I set up time-lapses with the RX0 II.
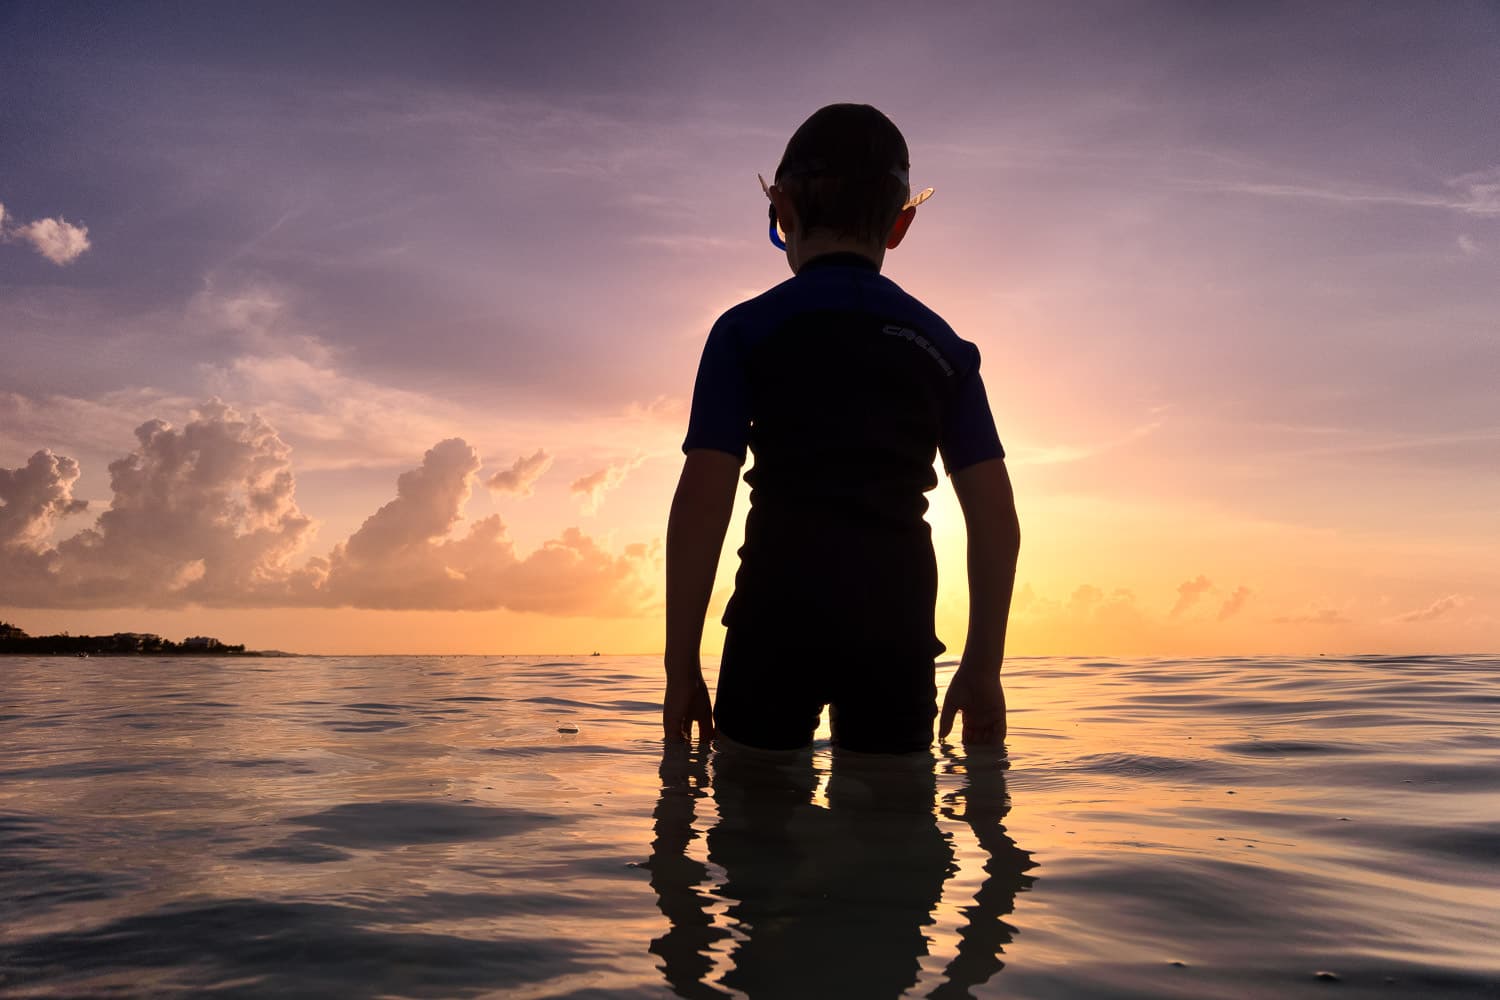
In Turks & Caicos, the RX0 II didn’t fog up once because of the humidity and after 6 snorkeling trips and multiple trips to the beach with my wife and son, I had zero issues with water leaking into the device, even when I free dove down below 20ft into the ocean. All in all, it pasts all of my weather challenges with flying colors!
The Power of the Image Sensor
When it comes to the small action camera like devices, one of the biggest disappointments is often the still images that they create. While a GoPro can shoot great video and take decent images for things like Instagram, things begin to fall apart as soon as you look at those images on a larger display, and especially if you ever tried to print one of those images. With the Sony RX0 II, this is NOT the case.
For years Sony has been perfecting the 1″ sensors they use in their RX 100 series of cameras, allowing them to squeeze a ton of detail out of these sensors. When compared to the tiny sensors found in cameras such as the GoPro 7 or Osmo Action Camera, the difference in image detail, depth and dynamic range is pretty incredible, especially when you shoot in RAW.
In addition, Sony has packed some pretty impressive camera features into this tiny body. You can shoot 16fps (Frames Per Second) images, use Sony’s impressive Eye AF to always nail focus when taking portraits and even shoot as high as 1/32000 sec shutter speeds to completely eliminate distortion from moving objects like a bike wheel or helicopter blade rotating. However, I was a little disappointed to see that I was limited to a minimum shutter speed of 1/4 of a second, as I would have loved to experiment with some long exposure photography with this little camera.
With the Sony RX0 II you have a variety of different shooting modes that you can play with to help you get the images you are after.
- Intelligent Auto – Automatically identifies the scene’s characteristics and shoots a photo (JPEG only)
- Superior Auto – The device beautiful shoots automatically while reducing blurring and noise (JPEG only)
- Program Auto – Automatically sets the shutter speed. Other settings can be set as desired. (JPEG only)
- Manual Exposure – Adjusts the shutter speed manually (1/4 – 1/32,000 Second). Aperture is fixed at f/4 but you control ISO and SS. This is the only mode that allows you to shot AWR RAW still images.

What About Video?
Truth be told, I am not a video guy myself. While I do often create videos on the marketing projects I work on around the globe, I almost always outsource the responsibility of actually filming the video to someone else. That being said, I do find myself shooting some b-roll or filler footage on my adventures that can later go into other larger video projects. Because of this, I was pretty excited to see what the RX0 II could do now that it supports internal 4k video, something that was a deal breaker for me with the first generation is it was limited to 1080p with internal video recording. Unfortunately, I wasn’t able to compile a video reel in time for this review, so I will let Sony’s video demo footage do the talking. There are plenty of other reviews out there that focus on video as well.
Video Modes
With the RX0 II you have a variety of different video modes you can shoot in…
- Intelligent Auto – Automatically identifies the scene’s characteristics and shoots a movie based on settings it chooses to match what you are trying to capture
- Program Auto – Automatically sets shutter speed for movies but other settings can be set as desired
- Manual – Allows you to adjust the shutter speed manually to shoot movies
- HFR – A mode for slow motion shooting (up to 960 FPS video)
It is important to note that the RX0 II has a fixed aperture (f/4), similar to both action cameras and cell phones. Because of this, you can only control the ISO and Shutter Speed when in Manual mode.
Video Stabilization
While the Sony RX0 II doesn’t have built-in physical sensor stabilization like the larger Sony a7 series, you do have some options to stabilize your videos in post-production. If you run your clips through Sony’s Imaging Edge software (which is available for both IOS & Android), you can stabilize shaky footage with some pretty impressive results. This works in a similar way to the new GoPro Hero 7 in terms of stabilization happening on the software side of things.
Picture Profiles
If you are into color grading your videos, you will be happy to know that you can shoot s/log2 with the RX0 II, which is pretty awesome. This essentially creates a very flat looking video that ultimately allows you to use programs such as Adobe Premier or Davinci Resolve to color grade (correct) your videos so they look professional.
Time-lapse Mode Engaged!
Easily my favorite feature found in the RX0 II is the built-in Time-lapse mode. Now technically I should note that this isn’t a dedicated “Time-lapse” mode per se, but rather the same built-in Intervalometer feature that is now in the Sony a7 III, a7R III and a6400 mirrorless cameras. So while it will not compile a time-lapse video for you, it does give you full control over interval shooting, including the ability to shoot in Sony AWR (RAW) files, which is exactly what I prefer using!
Intervalometer Settings
Under the “Interval Shoot Func” menu setting found in Camera Menu Tab 1, section 2, you will find a variety of different settings you can adjust to capture your time-lapses.
Interval Shooting
This is where you turn the interval shooting function on or off. I have this setting configured into my Fn Menu, so that I can have easy access to start shooting time-lapses when needed.
Shooting Start Time
If you want to start with a delay before shooting your first image, this is where you let the RX0 II know how much of an initial delay you want to have.
Shooting Interval
Here you can pick how many seconds you want between each image of your timelapse. For slow moving stuff, I recommend 5 seconds but if you have really fast moving clouds or subjects, 2-3 seconds is preferred.
Number of Shots
How many images do you want to be part of your time-lapse? This is where you have to do the math either in your head or via an app on your phone. You have to take into account the FPS of the video you are hoping to create. For a cinematic look, aim for 24fps whereas something that is more of an Internet standard would be 30 fps. So if you wanted to shoot a 10 second timelapse for your 24 FPS video you were creating, you would need to 240 images (10×24). The RX0 II will let you know how long it will take to shoot your timelapse at the bottom of the screen once you have selected the number of images you hope to capture.
AE Tracking Sensitivity
Here you can select Low, Medium or High when it comes to Auto Exposure Tracking with your time-lapse. When you are shooting with AUTO ISO along with ISO AUTO Minumum Shutter Speed Settings, this feature can be helpful so that the exposure of your images in a time-lapse will adjust to the changing light of a scene, such as when the sun rises.
Recommended Accessories
While just picking up the Sony RX0 II on its own would allow you to start creating some excellent content, the truth is that a few recommended accessories could make things much easier for you in the long run.
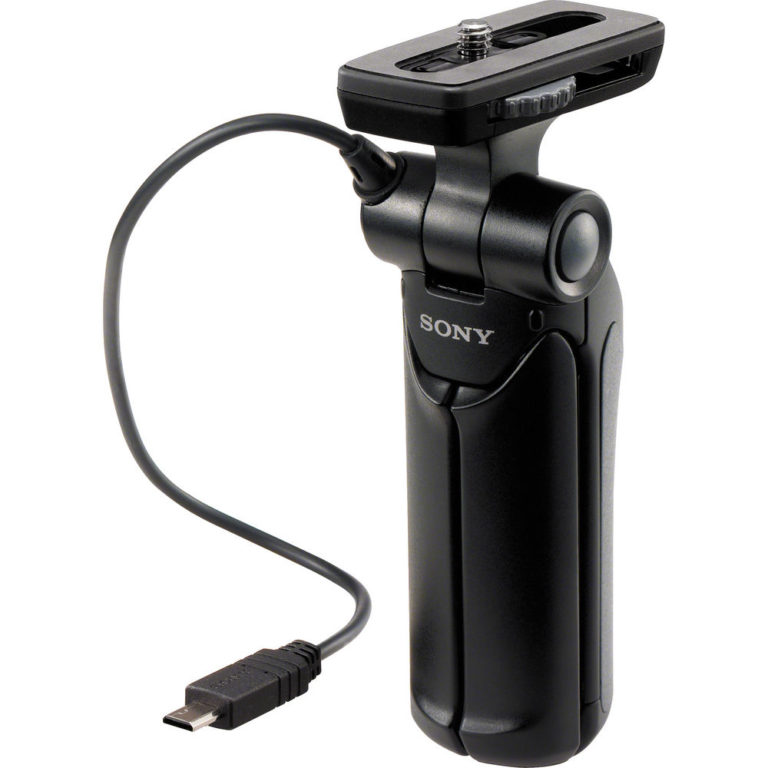
Sony’s GP-SGR1 Grip
If you want to use this camera to shoot video, b-roll or even vlog with it, you will need a grip. Sony’s own GP-VPT1 not only allows you to control the RX0 II with it (taking photos, videos, zooming) but it also doubles as a small simple tripod to use on flat surfaces.
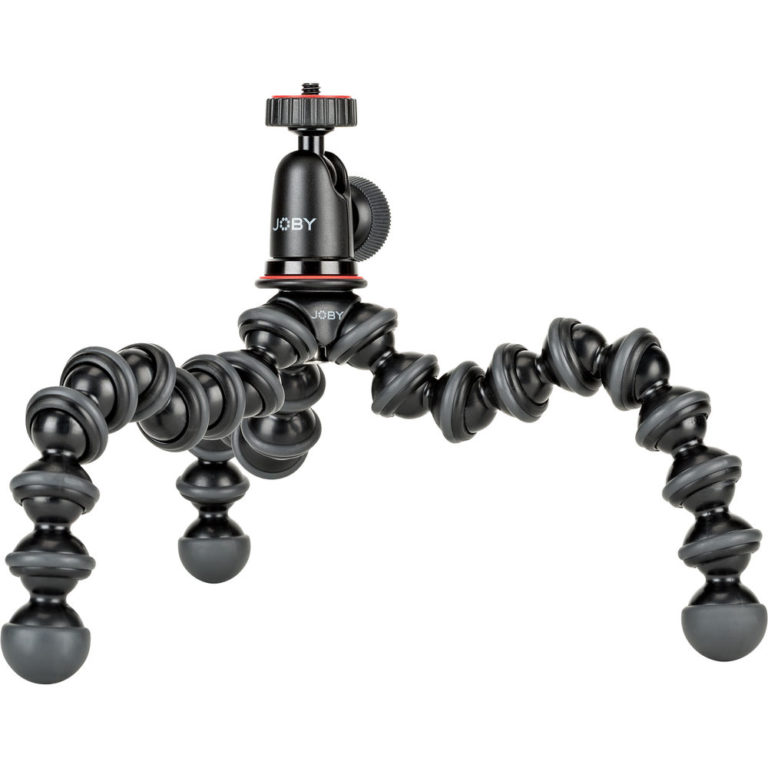
Joby Portable Tripod
I highly recommend you look into picking up an adjustable portable tripod for the RX0 II. It weighs very little, so you don’t need anything too robust but you do want something that allows you to take advantage of the unobtrusive size of this camera. I settled on using my Joby GorillaPod 1k Flexible Mini-Tripod most of the time I was using this camera, especially when shooting time-lapses. It was awesome to be able to essentially attach my tripod and RX0 II to just about anything and let it start shooting.
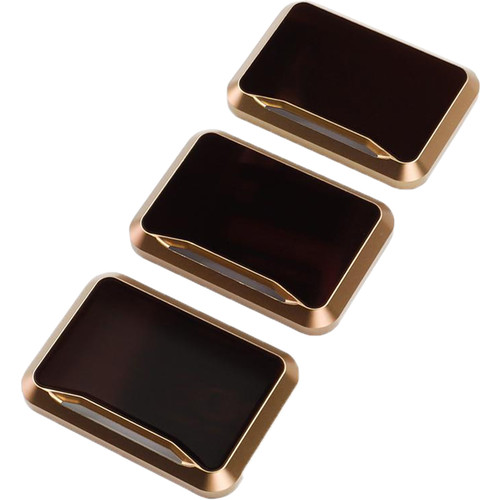
RX0 II Filter Set
With a fixed aperture of f/4, you might find it difficult to use the RX0 II to shoot 4k video during the day while maintaining a 1/50th or 1/60th shutter speed that most professional videographers are looking for. To counterbalance for being forced to a constant wide open f/4, you will want to pick up a set of Polar Pro filters for the RX0 II.
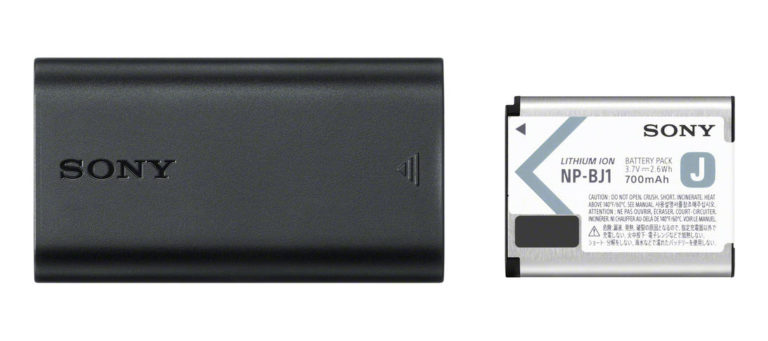
Additional Battery Charger
The Sony RX0 II is a great little camera, but it does tend to chew through batteries (NP-BJ1) pretty quickly. While it doesn’t come with a charger, you can charge it via a micro-USB cable directly to the camera itself. However, if you are on a trip and want to shoot multiple time-lapses, some 4k video, and some stills, you will probably find yourself out of power after an hr or two of shooting. So I not only recommend that you pick up a few extra Sony BP-BJ1 batteries, but a secondary charger as well so you can charge multiple batteries at once.
The RX0 II & The Freedom to Create
Ultimately, I think the Sony RX0 II’s best feature is the freedom that it gives you to create with very little compromise. While the RX0 II is really in a league of its own, most people will compare it to other Action Cams out there, such as the GoPro Hero 7 or the newly announced DJI Osmo Action Cam. While both of those devices are capable of creating great content (especially video), both have some pretty serious limitations as well.
The size of their sensors when compared to Sony’s RX0 II alone is a pretty big deal, especially when it comes to low light performance and dynamic range. The image and color detail preserved in still images of the RXO II is incredible for a camera this small. When you mix all of that with the ability to shoot in a proper RAW file format, and you begin to see why it is such a superior still & time-lapse camera.
So where does the RX0 II fit in my gear setup? While it won’t replace my Sony a7R III or a9, it will replace the RX100 portable camera that I often use for behind the scenes marketing images. Also, I think I will mostly use it for quick time-lapses while occasionally shooting a little b-roll 4k video here and there.
The tools we use should not only not get in the way of our creative workflow, but also not force us to sacrifice quality in the process. With the RX0 II, I was incredibly happy with what it was capable of capturing, and I look forward to always having one in my gear bag moving forward!
What Questions Do You Have?
If you have any questions, please feel free to leave them in the comments below!