


July 27th – August 3rd, 2024
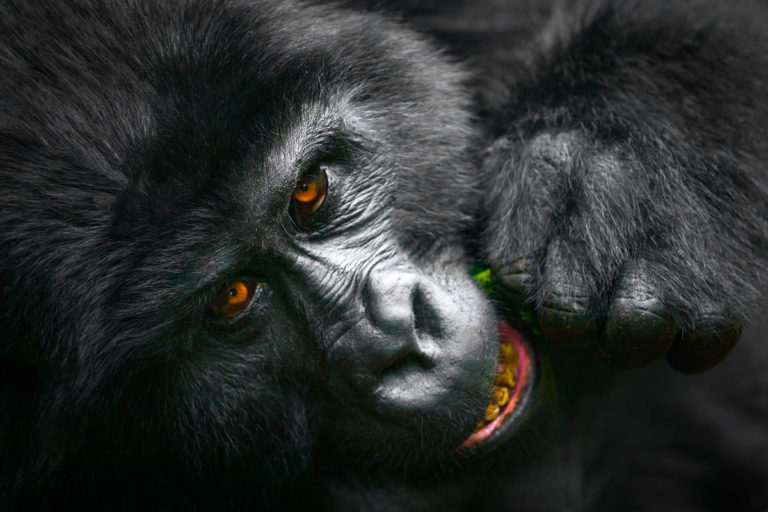
Uganda is one of the most unique wildlife destinations on the planet. Here you can find the endangered Silverback Gorilla along with amazing troops of Chimpanzees and the world-famous tree-climbing lions, which are found in a single area of Queen Elizabeth National Park. Join us on an adventure of a lifetime that offers some of the most intimate and incredible wildlife experiences on the planet.

April 17th – 126th, 2026
Patagonia is one of the most wild, beautiful & dramatic mountain ranges on the planet. We split our time between the incredible Torres del Paine National Park in Southern Chile and Los Glaciares National Park in Argentina, home to both Cerro Torre and Mt. Fitz Roy.

February 1st – 8th, 2026
With this adventure, our focus will be on capturing the beauty of the Cuban people, culture, and architecture throughout the Island of Cuba. From the classic cars and ocean side highways in Havana to the cobblestone streets of Trinidad and everything in between. With so much uncertainty in the US/Cuban relationship, NOW is the time to go!
October 16th – 23rd, 2026
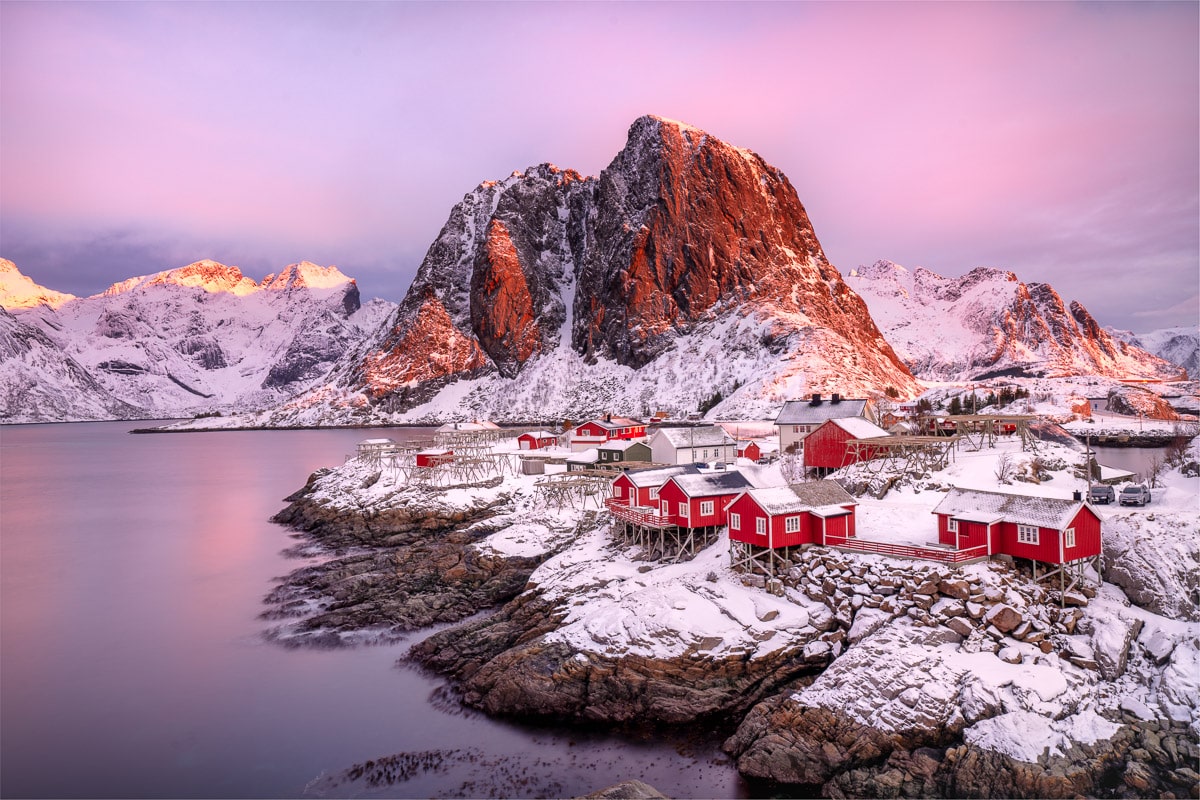
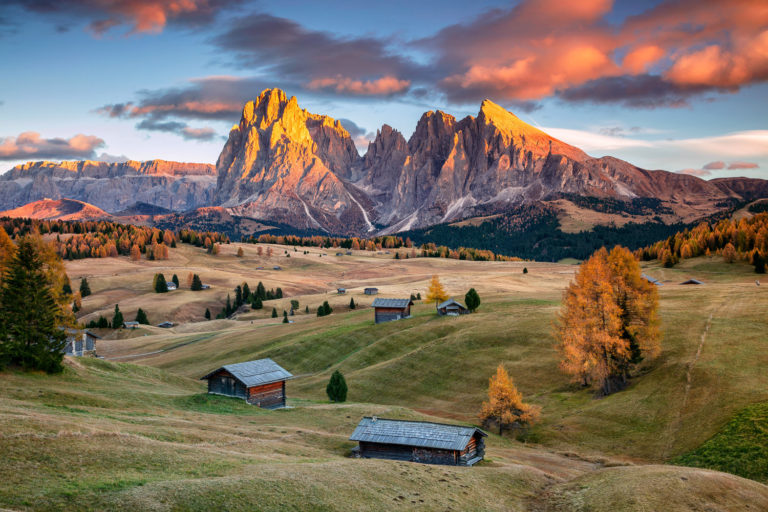
Come join us on an adventure of a lifetime to the amazing Italian Dolomites. We will photograph and explore incredible mountain peaks, beautiful reflected lakes and gorgeous fall colors as we move throughout one of the most impressive mountain ranges in the world.