


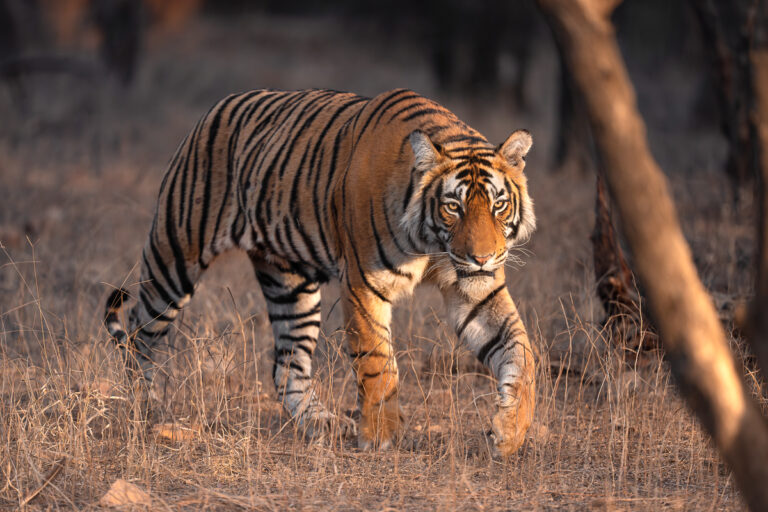
Indian Tiger Photo Safari
March 26th – April 6th, 2027
Join our incredible adventure to India to experience and photograph the gorgeous Bengal Tiger through two amazing National Parks, Jim Corbett and Ranthambore in 2027.
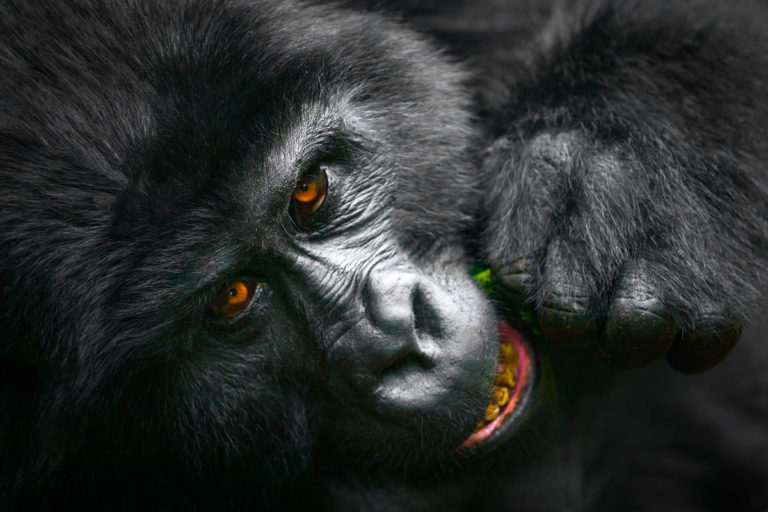
Uganda Photo Safari – A Trip of a Lifetime
December 6th – 16th, 2026
Uganda is one of the most unique wildlife destinations on the planet. Here you can find the endangered Silverback Gorilla along with amazing troops of Chimpanzees and the world-famous tree-climbing lions, which are found in a single area of Queen Elizabeth National Park. Join us on an adventure of a lifetime that offers some of the most intimate and incredible wildlife experiences on the planet.

Dolomites Photography Workshop
October 16th – 23rd, 2026
Come join us on an adventure of a lifetime to the amazing Italian Dolomites. We will photograph and explore incredible mountain peaks, beautiful reflected lakes and gorgeous fall colors as we move throughout one of the most impressive mountain ranges in the world.
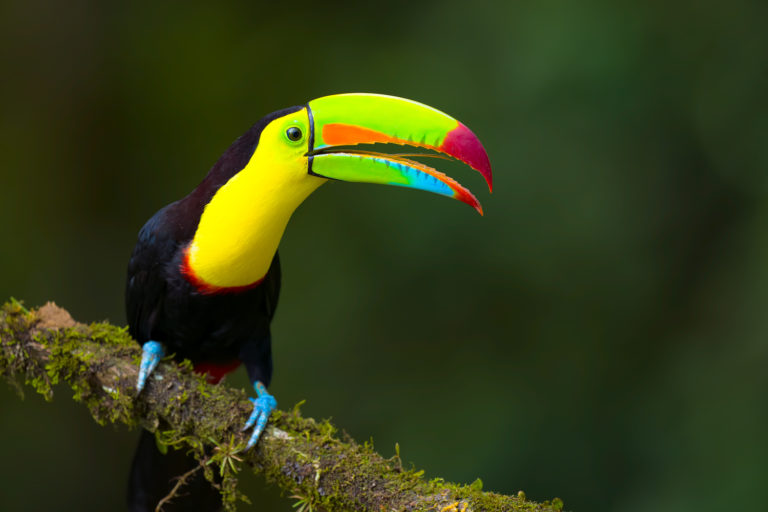
Costa Rica Wildlife Photography Workshop
January 10th – 19th, 2027
Join me next January in one of the most biologically diverse countries on the planet, Costa Rica, where we will spend 9 days photographing toucans, macaws, rare frogs, snakes, sloths, anteaters and much more.